STUDIO SPACE WHERE YOU ARE

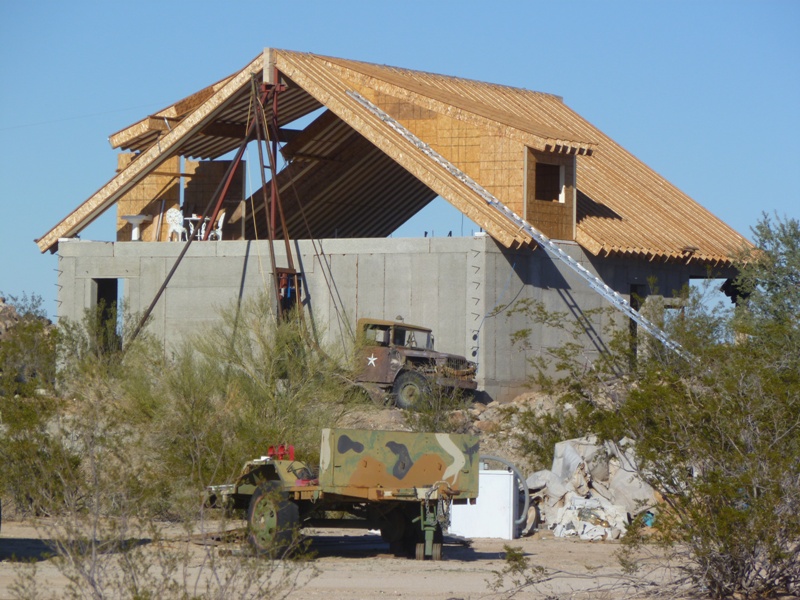
As much fun as it isn’t, you just have to make a little studio space wherever you can.  I am on my third (+ a temp or two) in the past ten years, and am eagerly awaiting my fourth, being built to specs by my husband and myself.

We live on ten-acres in the desert.  Today it was 114 degrees so, of course, I stayed indoors.  We are building our own house and if I find something that needs changing, we can do it ourselves.  We’ve worked on this a long time, paying as we go, so money is always the issue (as it is for 99% of us).

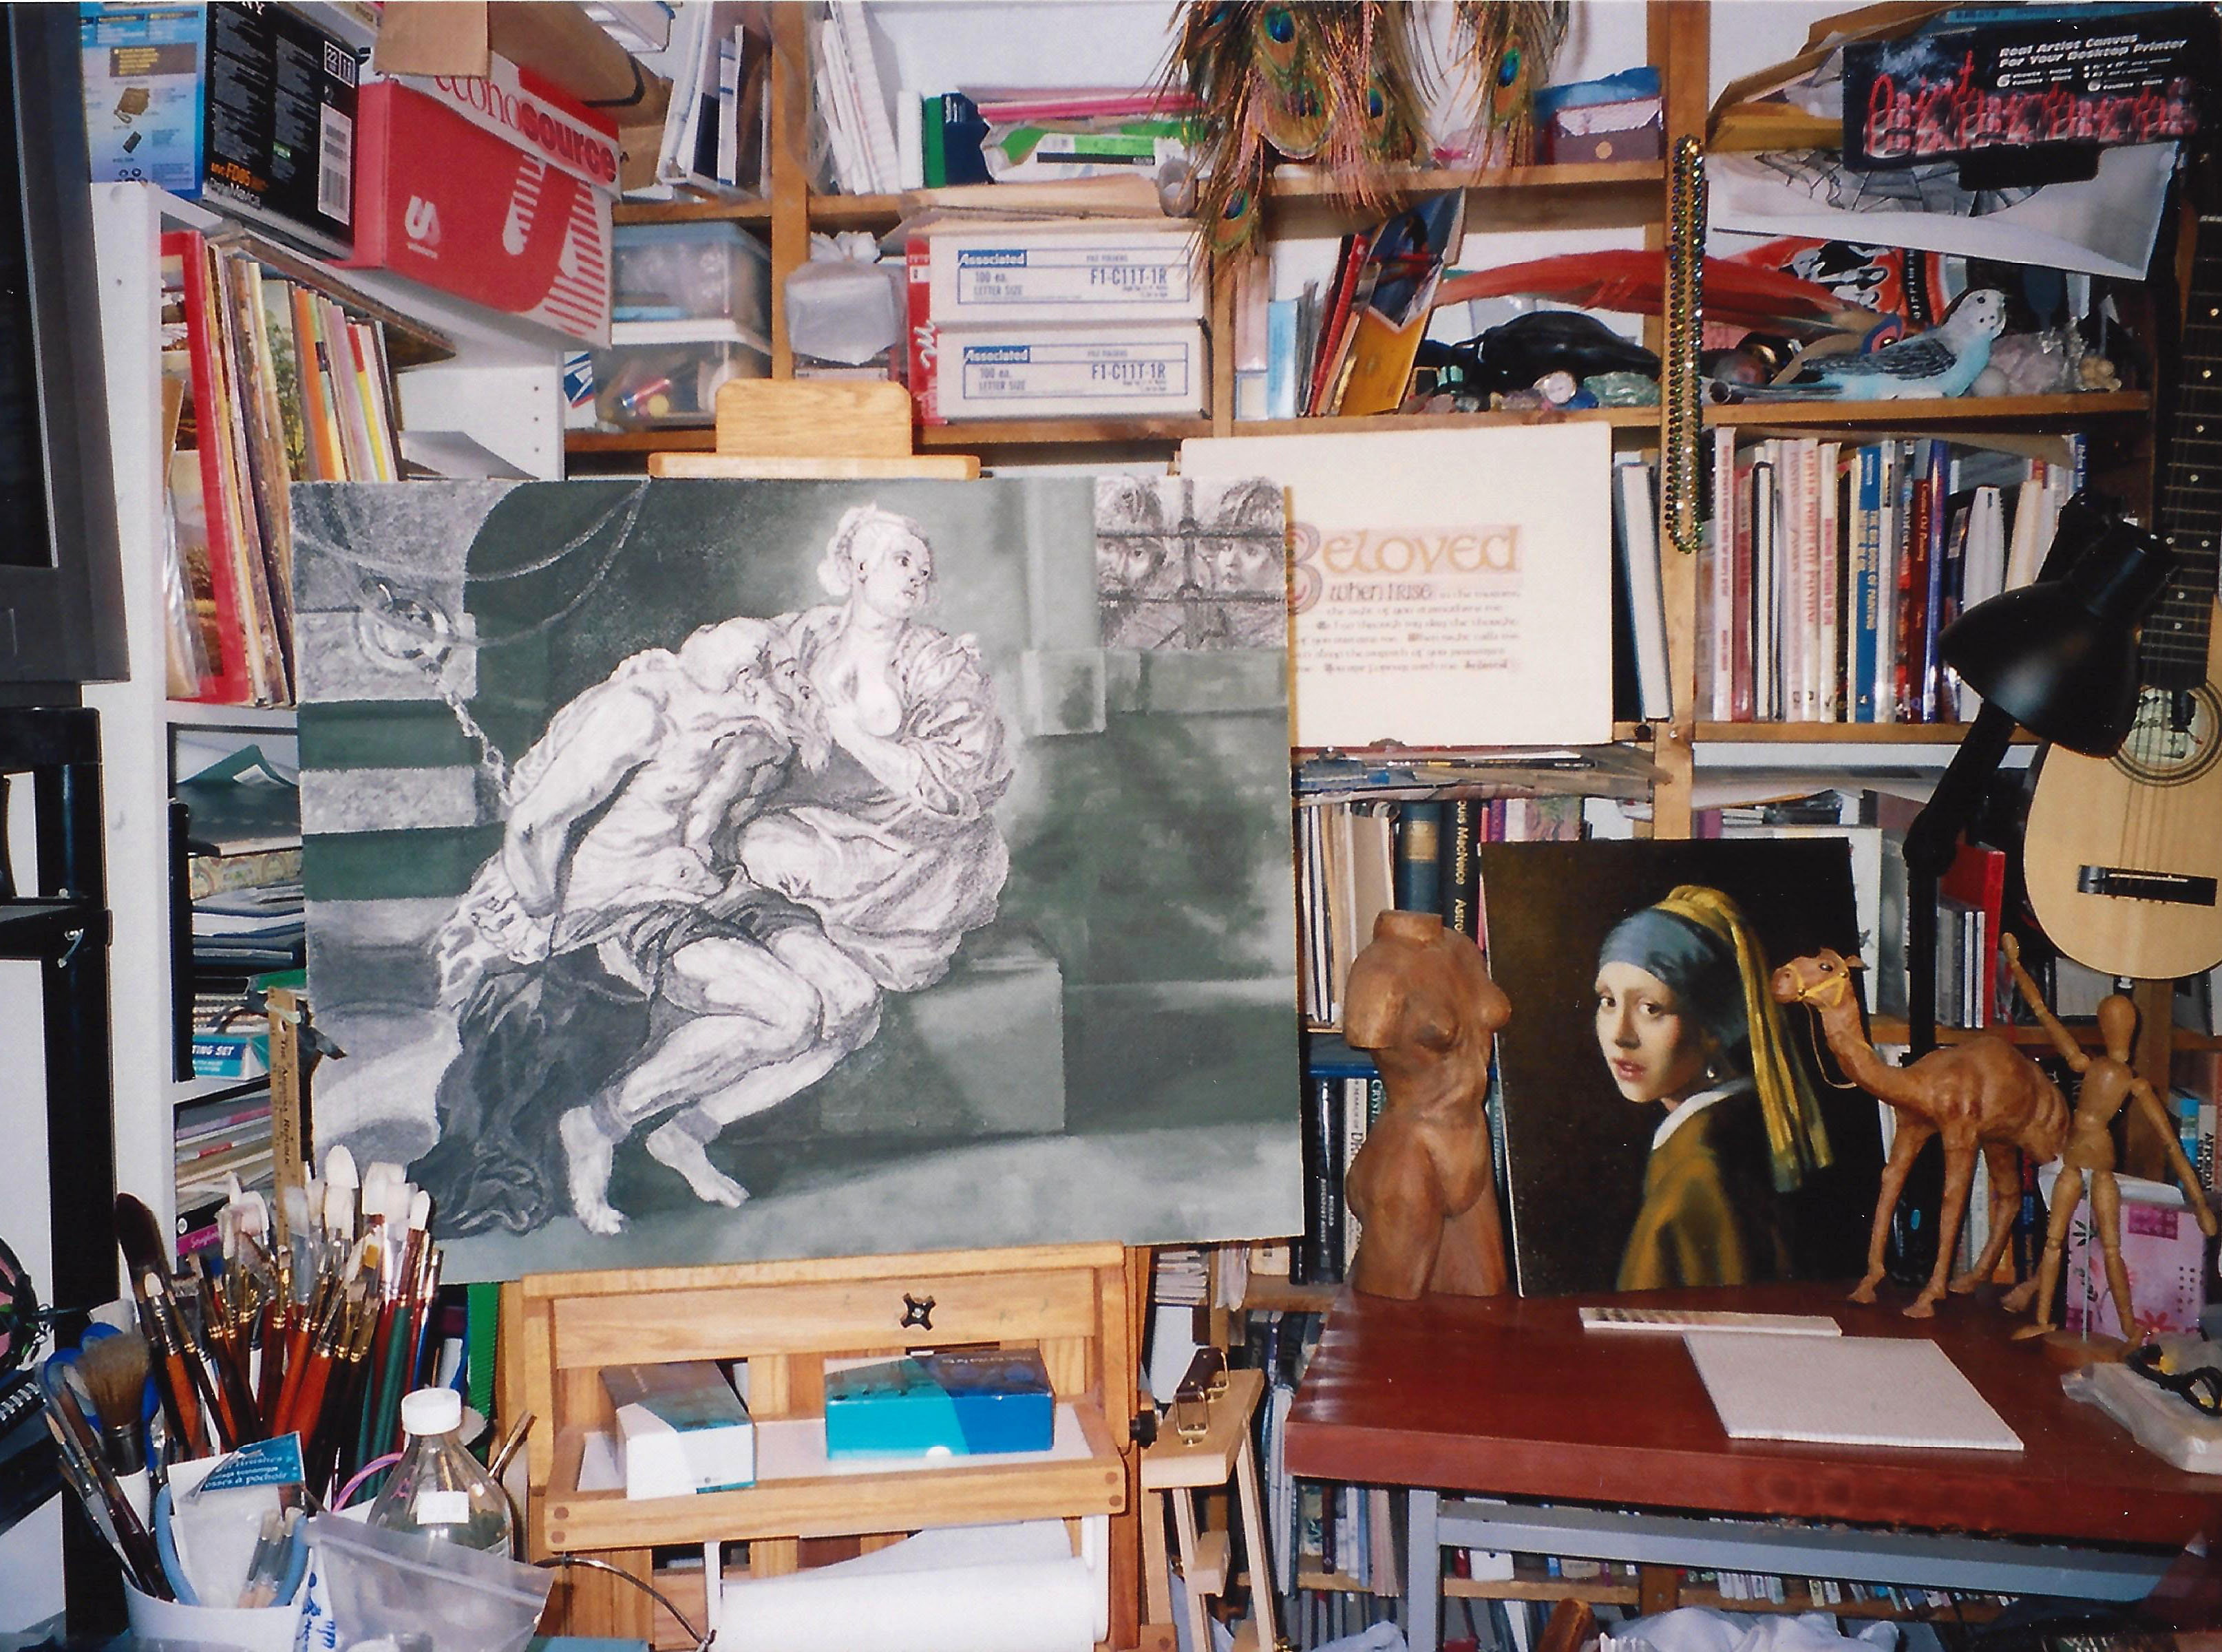
Anyway, as a result of this state of continuing construction, I started out in a little corner of our household goods storage trailer, and here was my first painting space, among the washer, dryer, boxes, and books:

Studio1

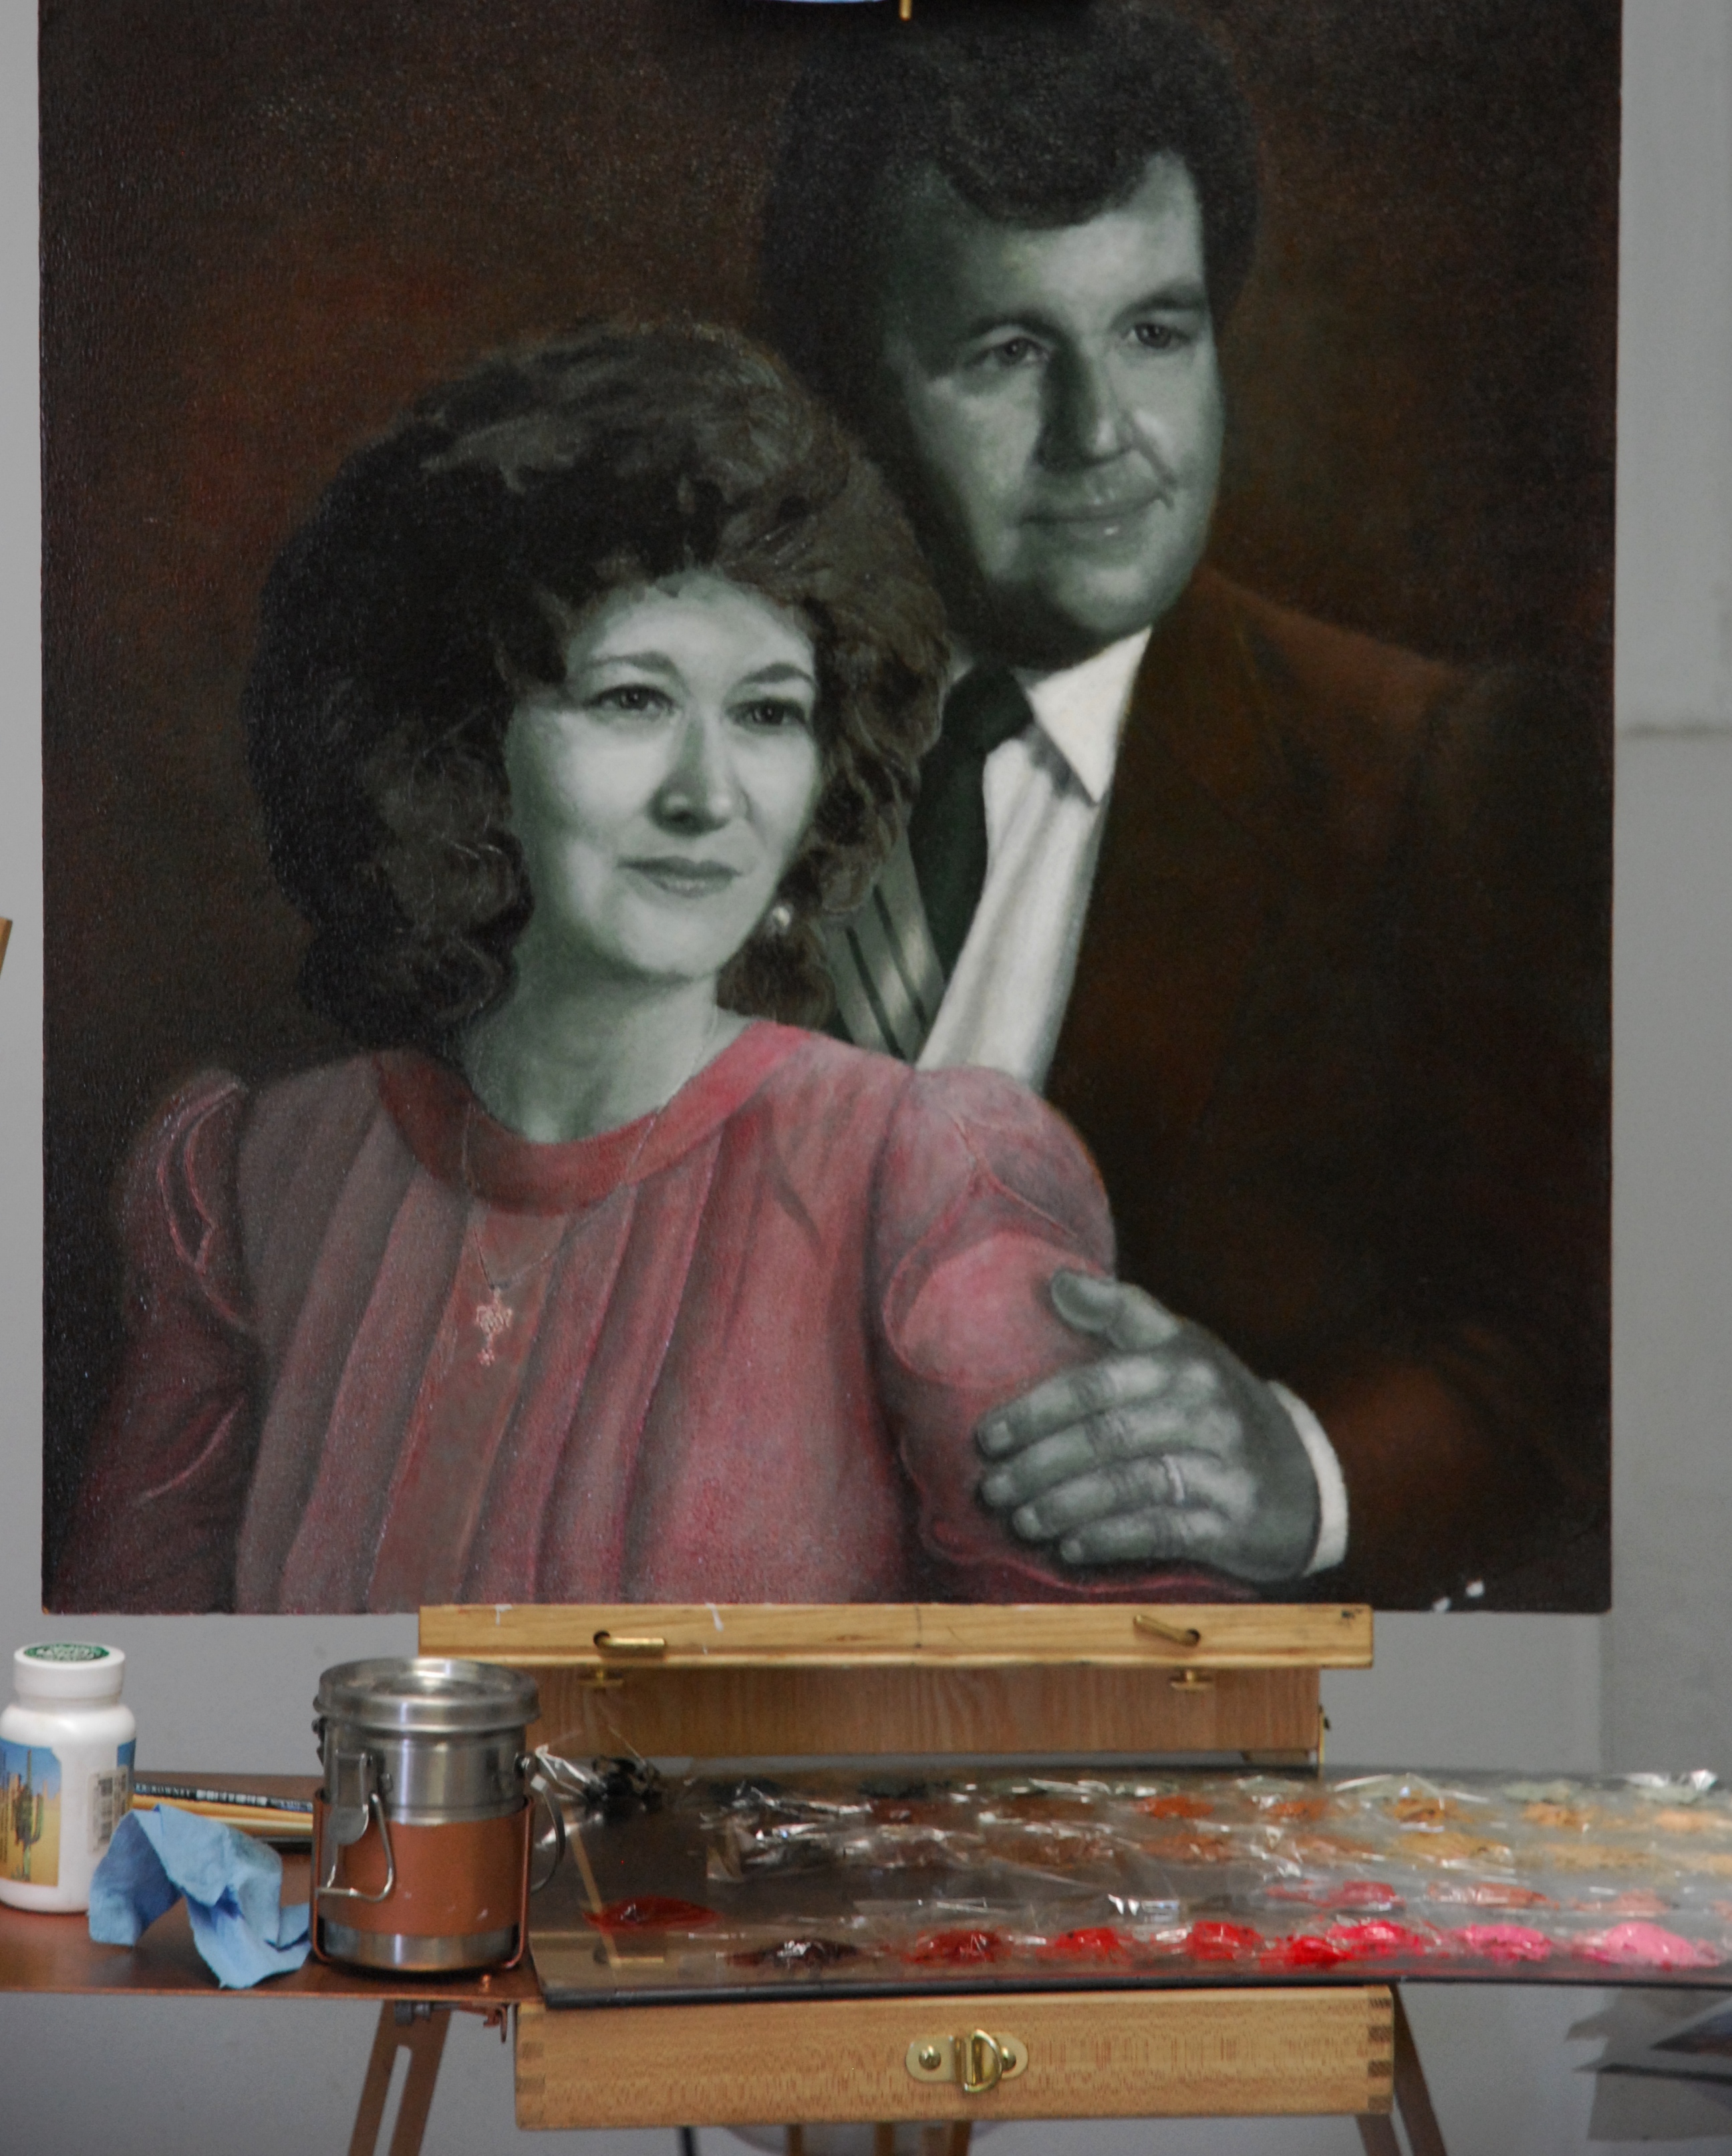
I quickly ran out of space so we enclosed the screen porch attached to the front of our travel trailer, turned it into a 7’x12′ kitchen, and the art moved in, quickly appropriating any extra cooking and eating space we had gained.  Here it is with all the paintings I was working on at the time, complete with new red shoes and the first half of the Laurel and Heidi show:

Studio2Kitchen

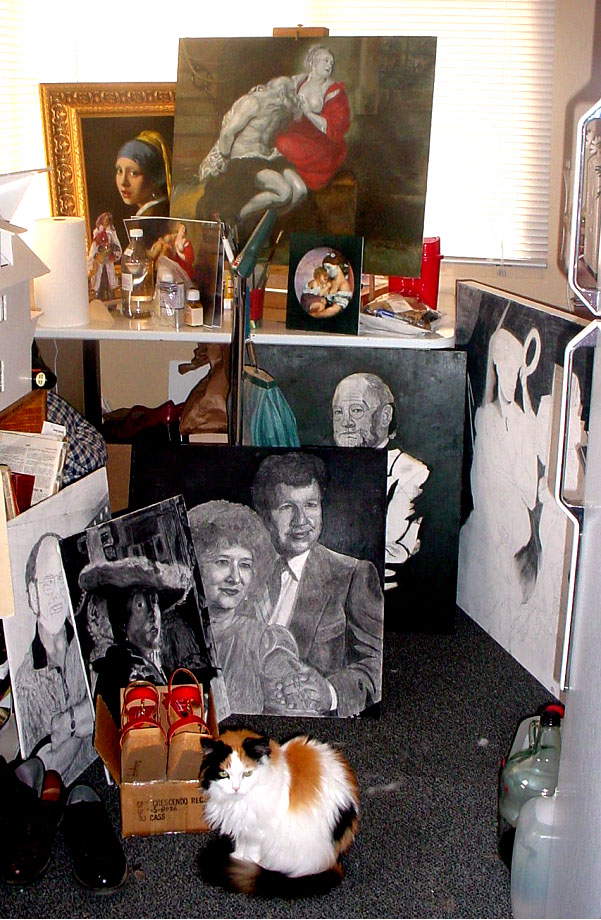
And here is the second sleepy half, Heidi:

Colony Website Pics1 002

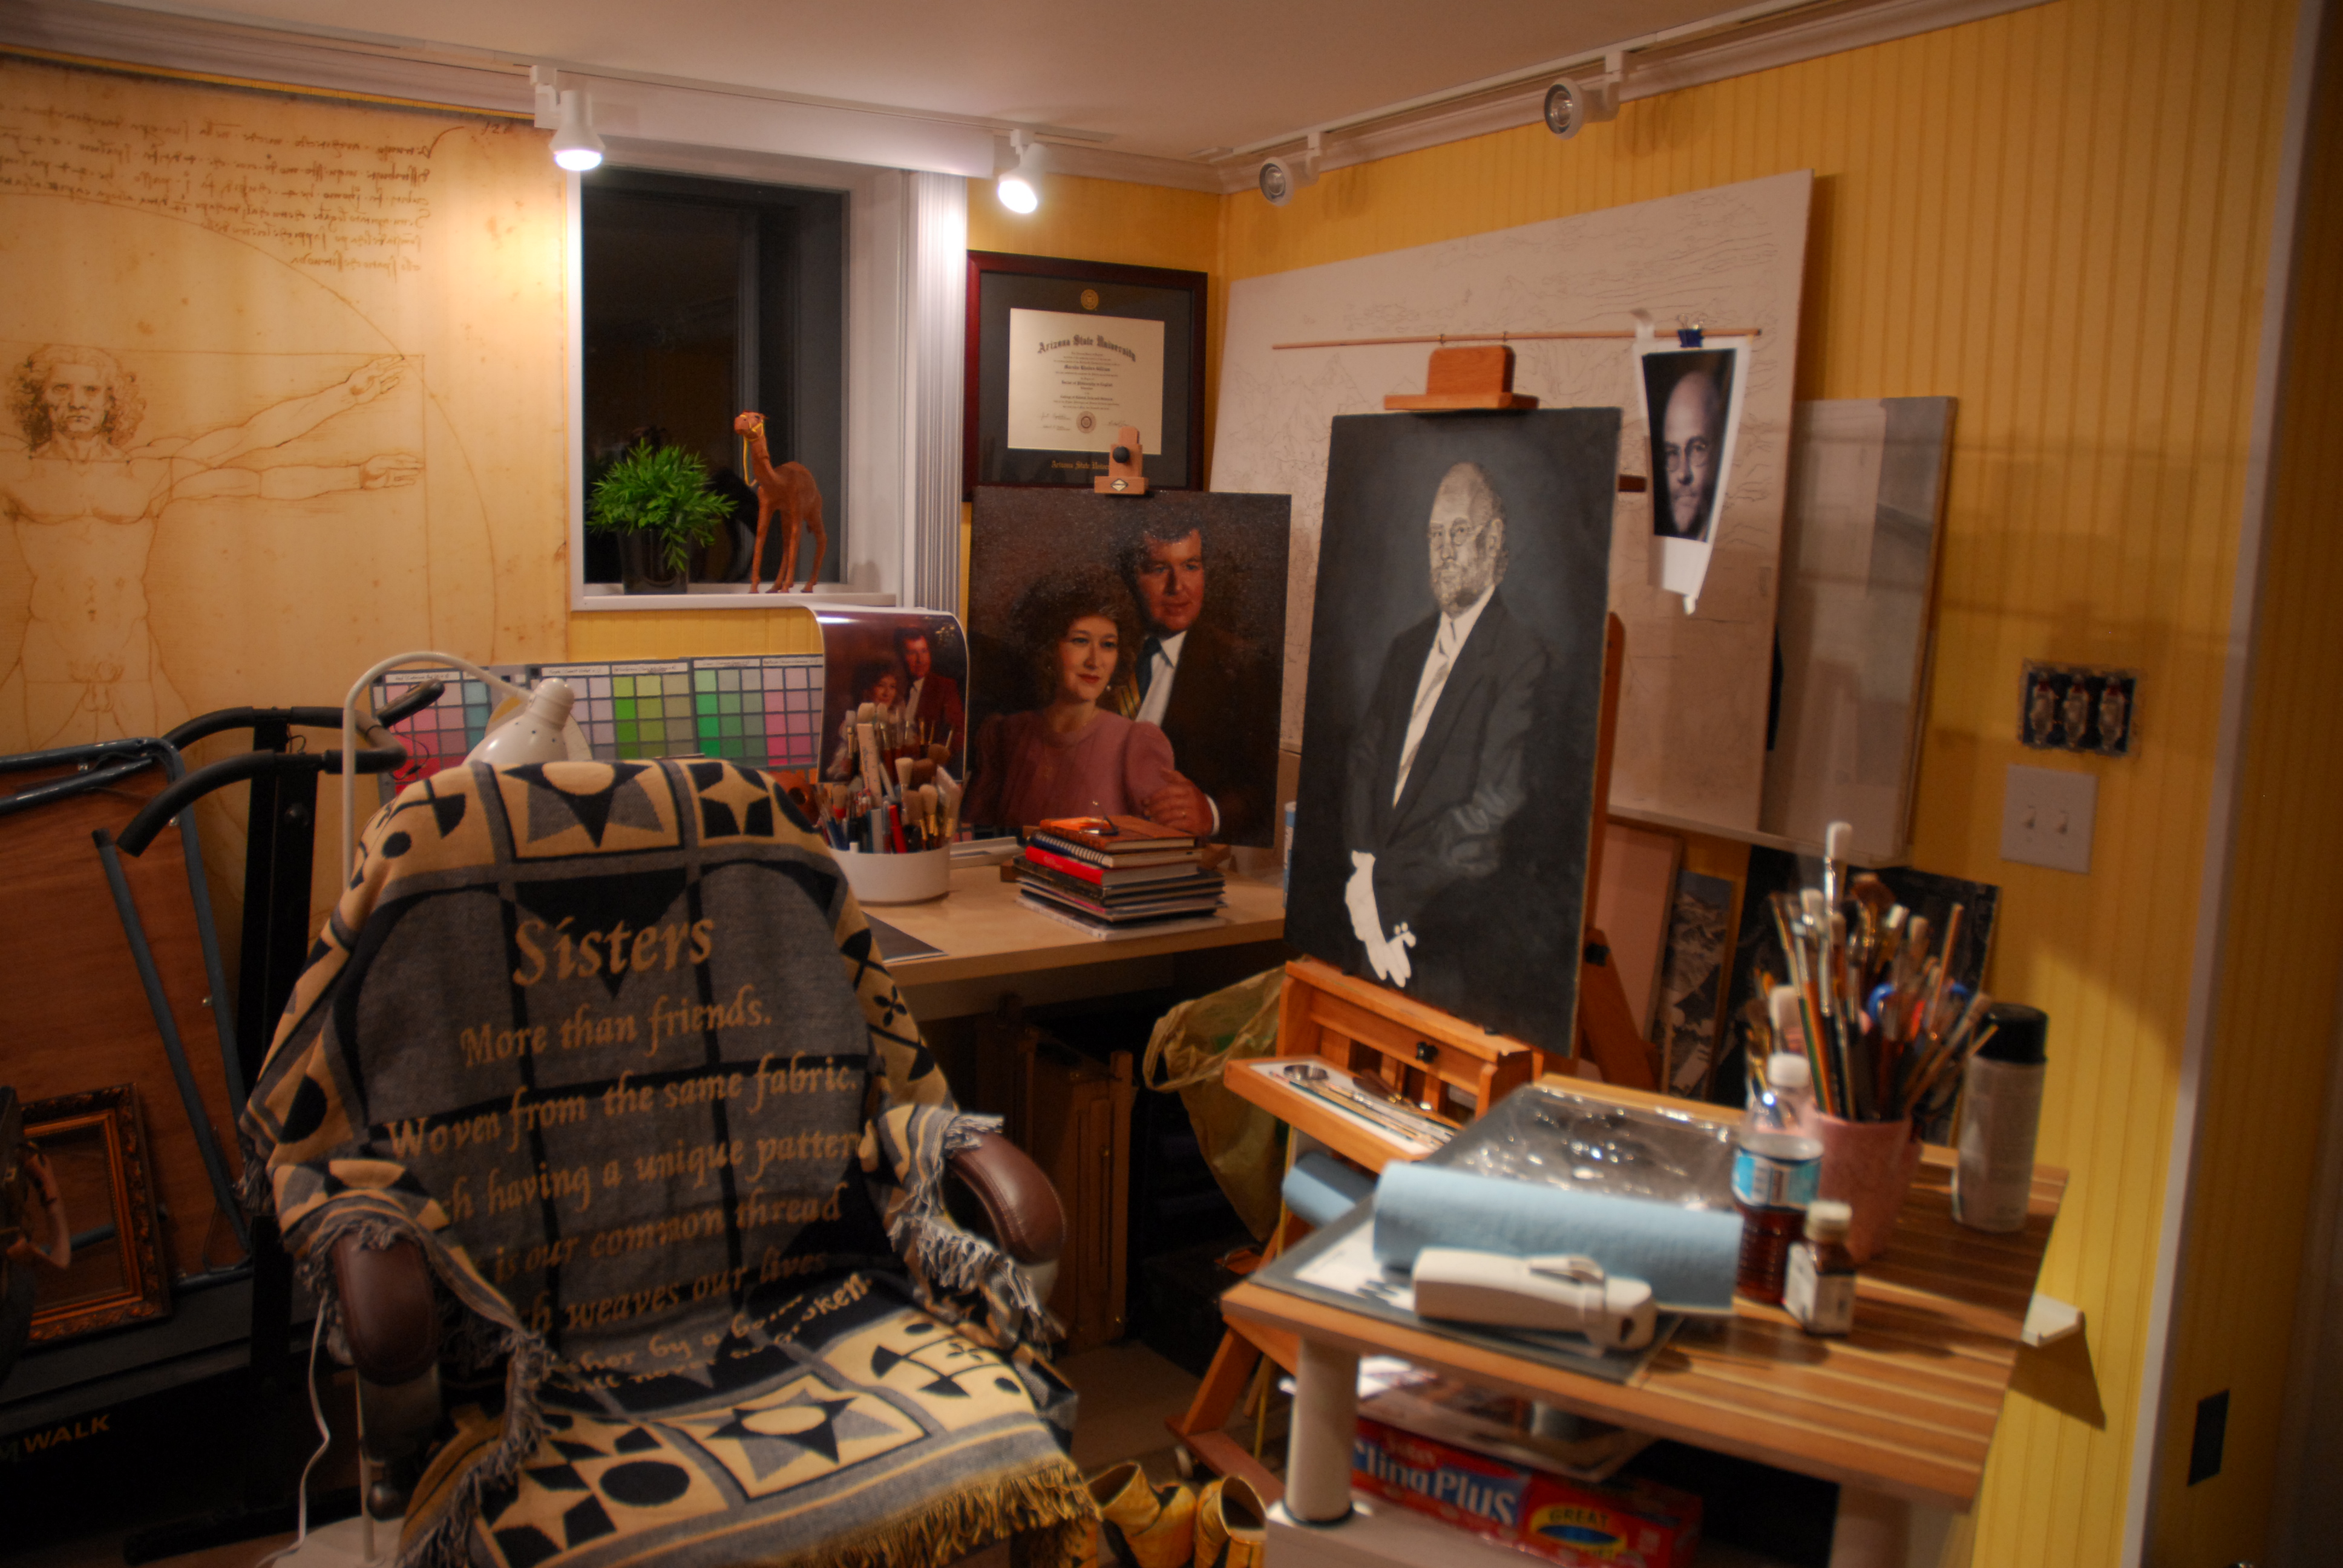
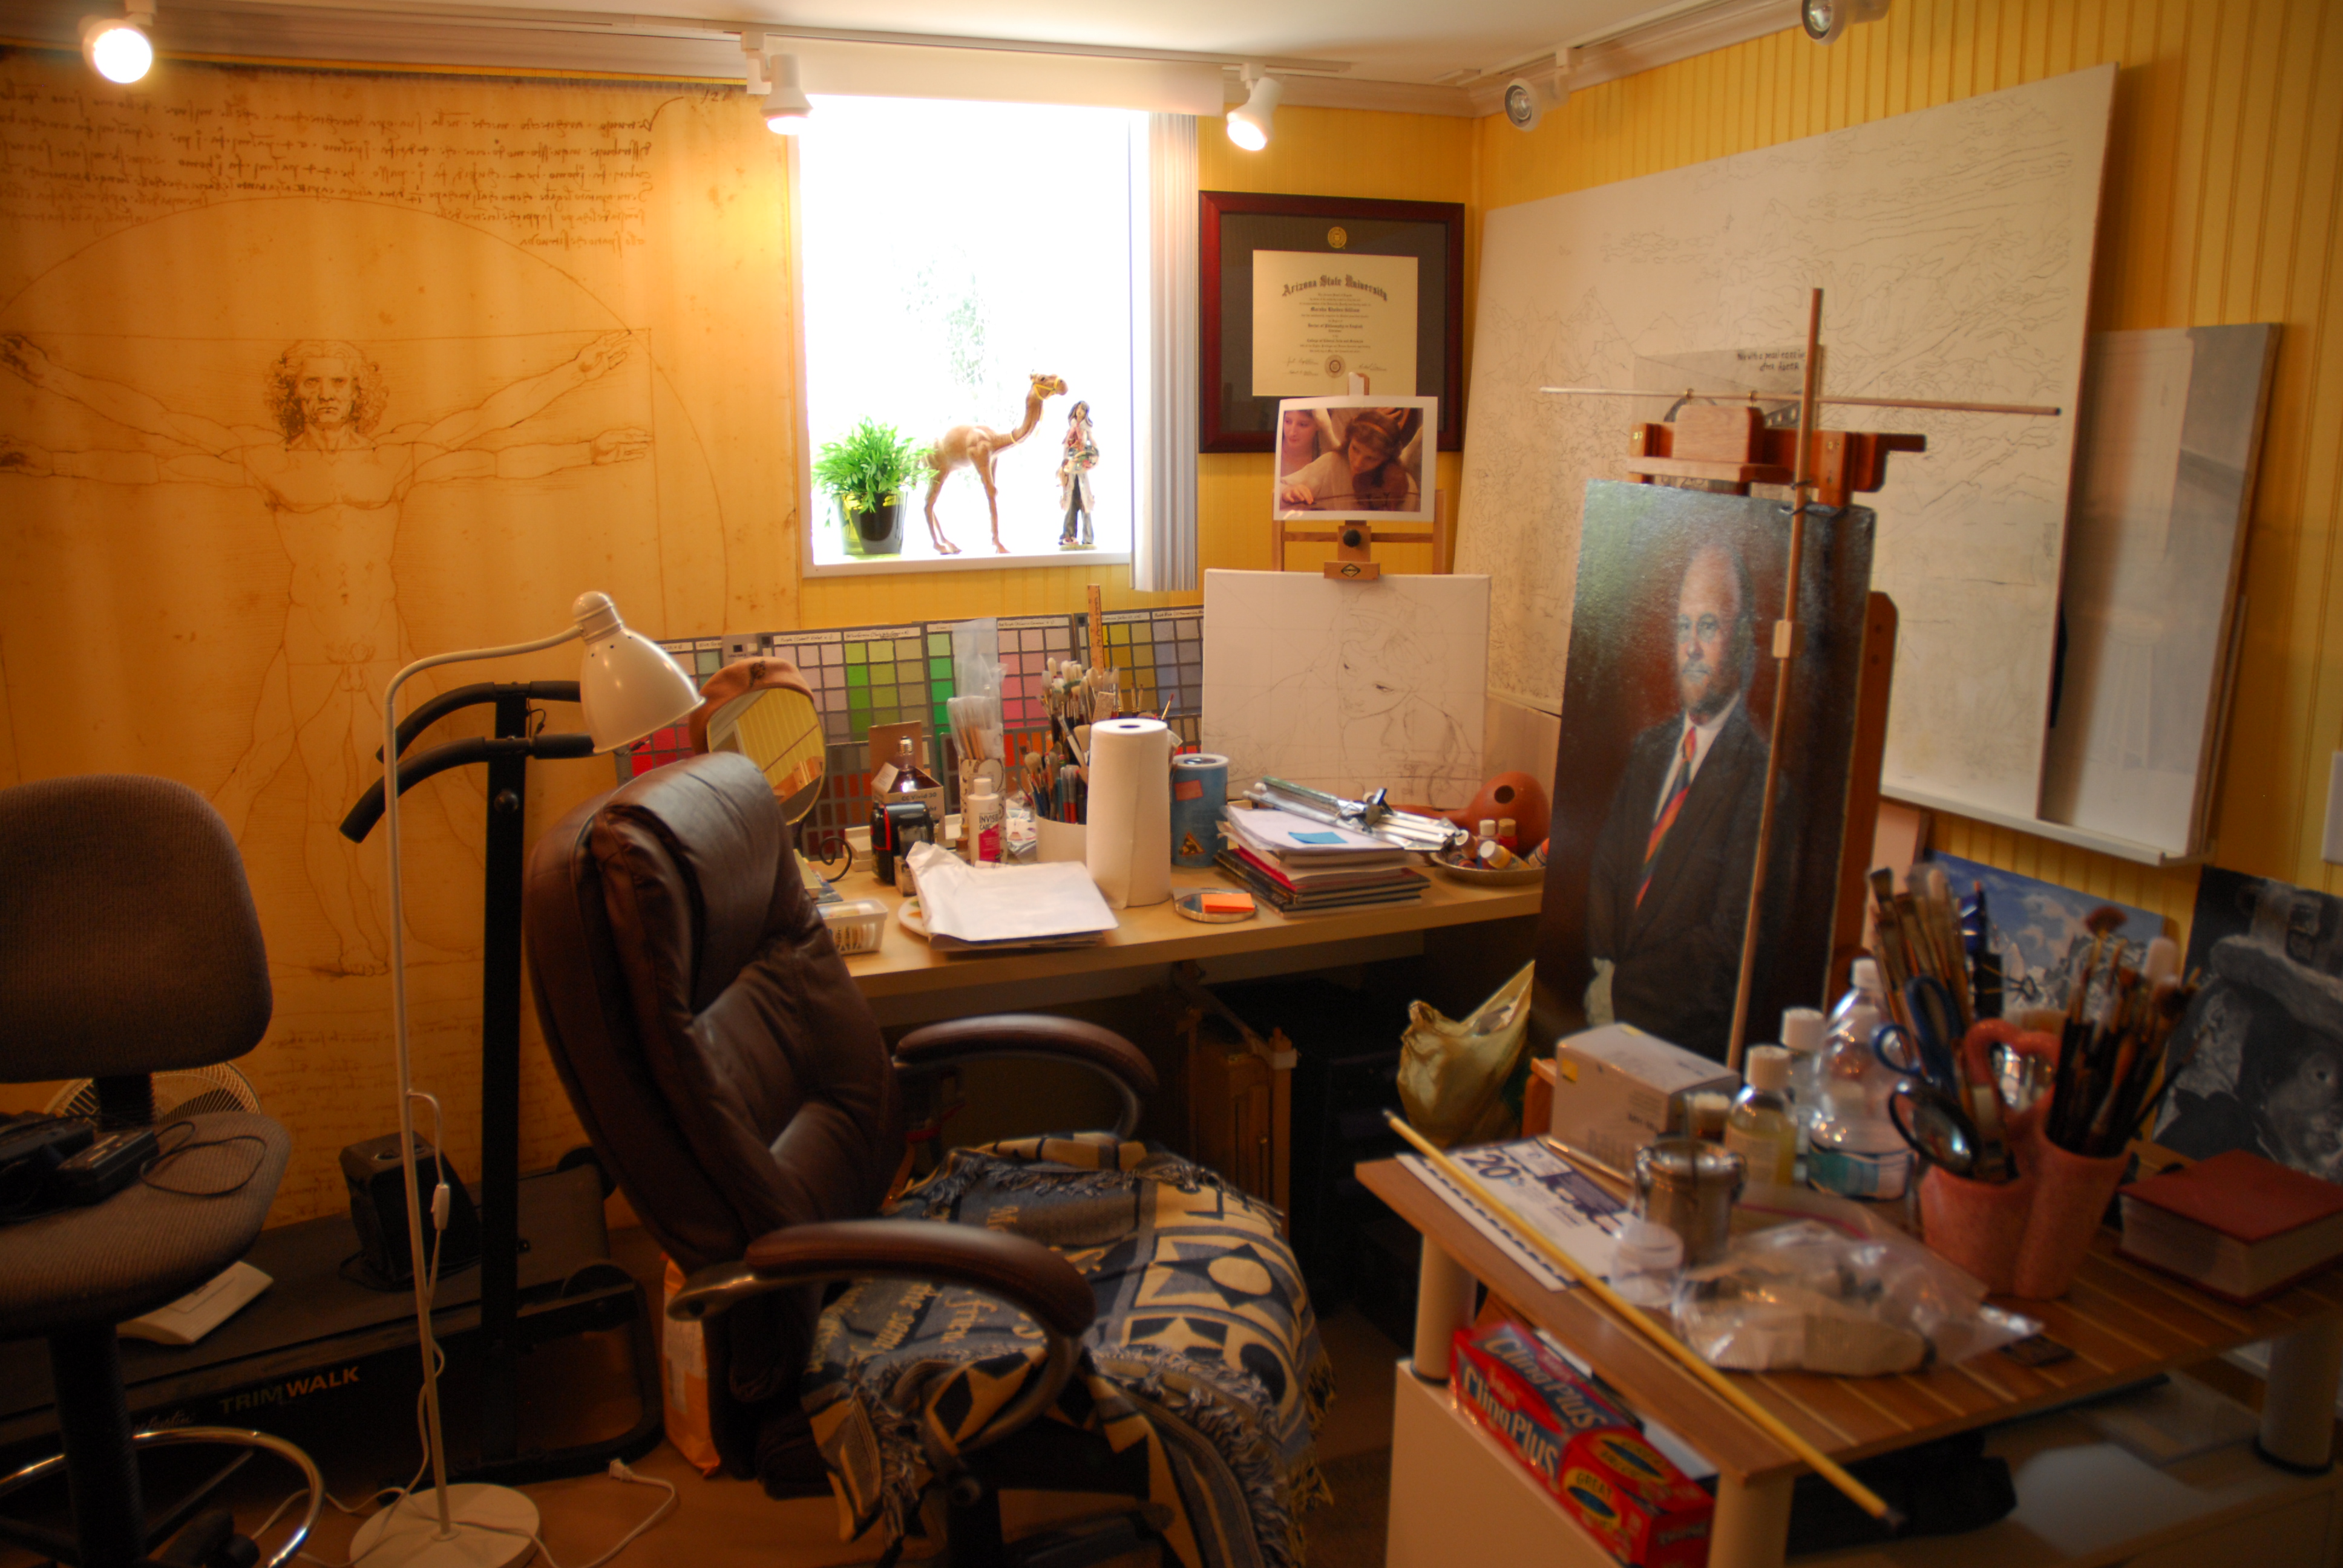
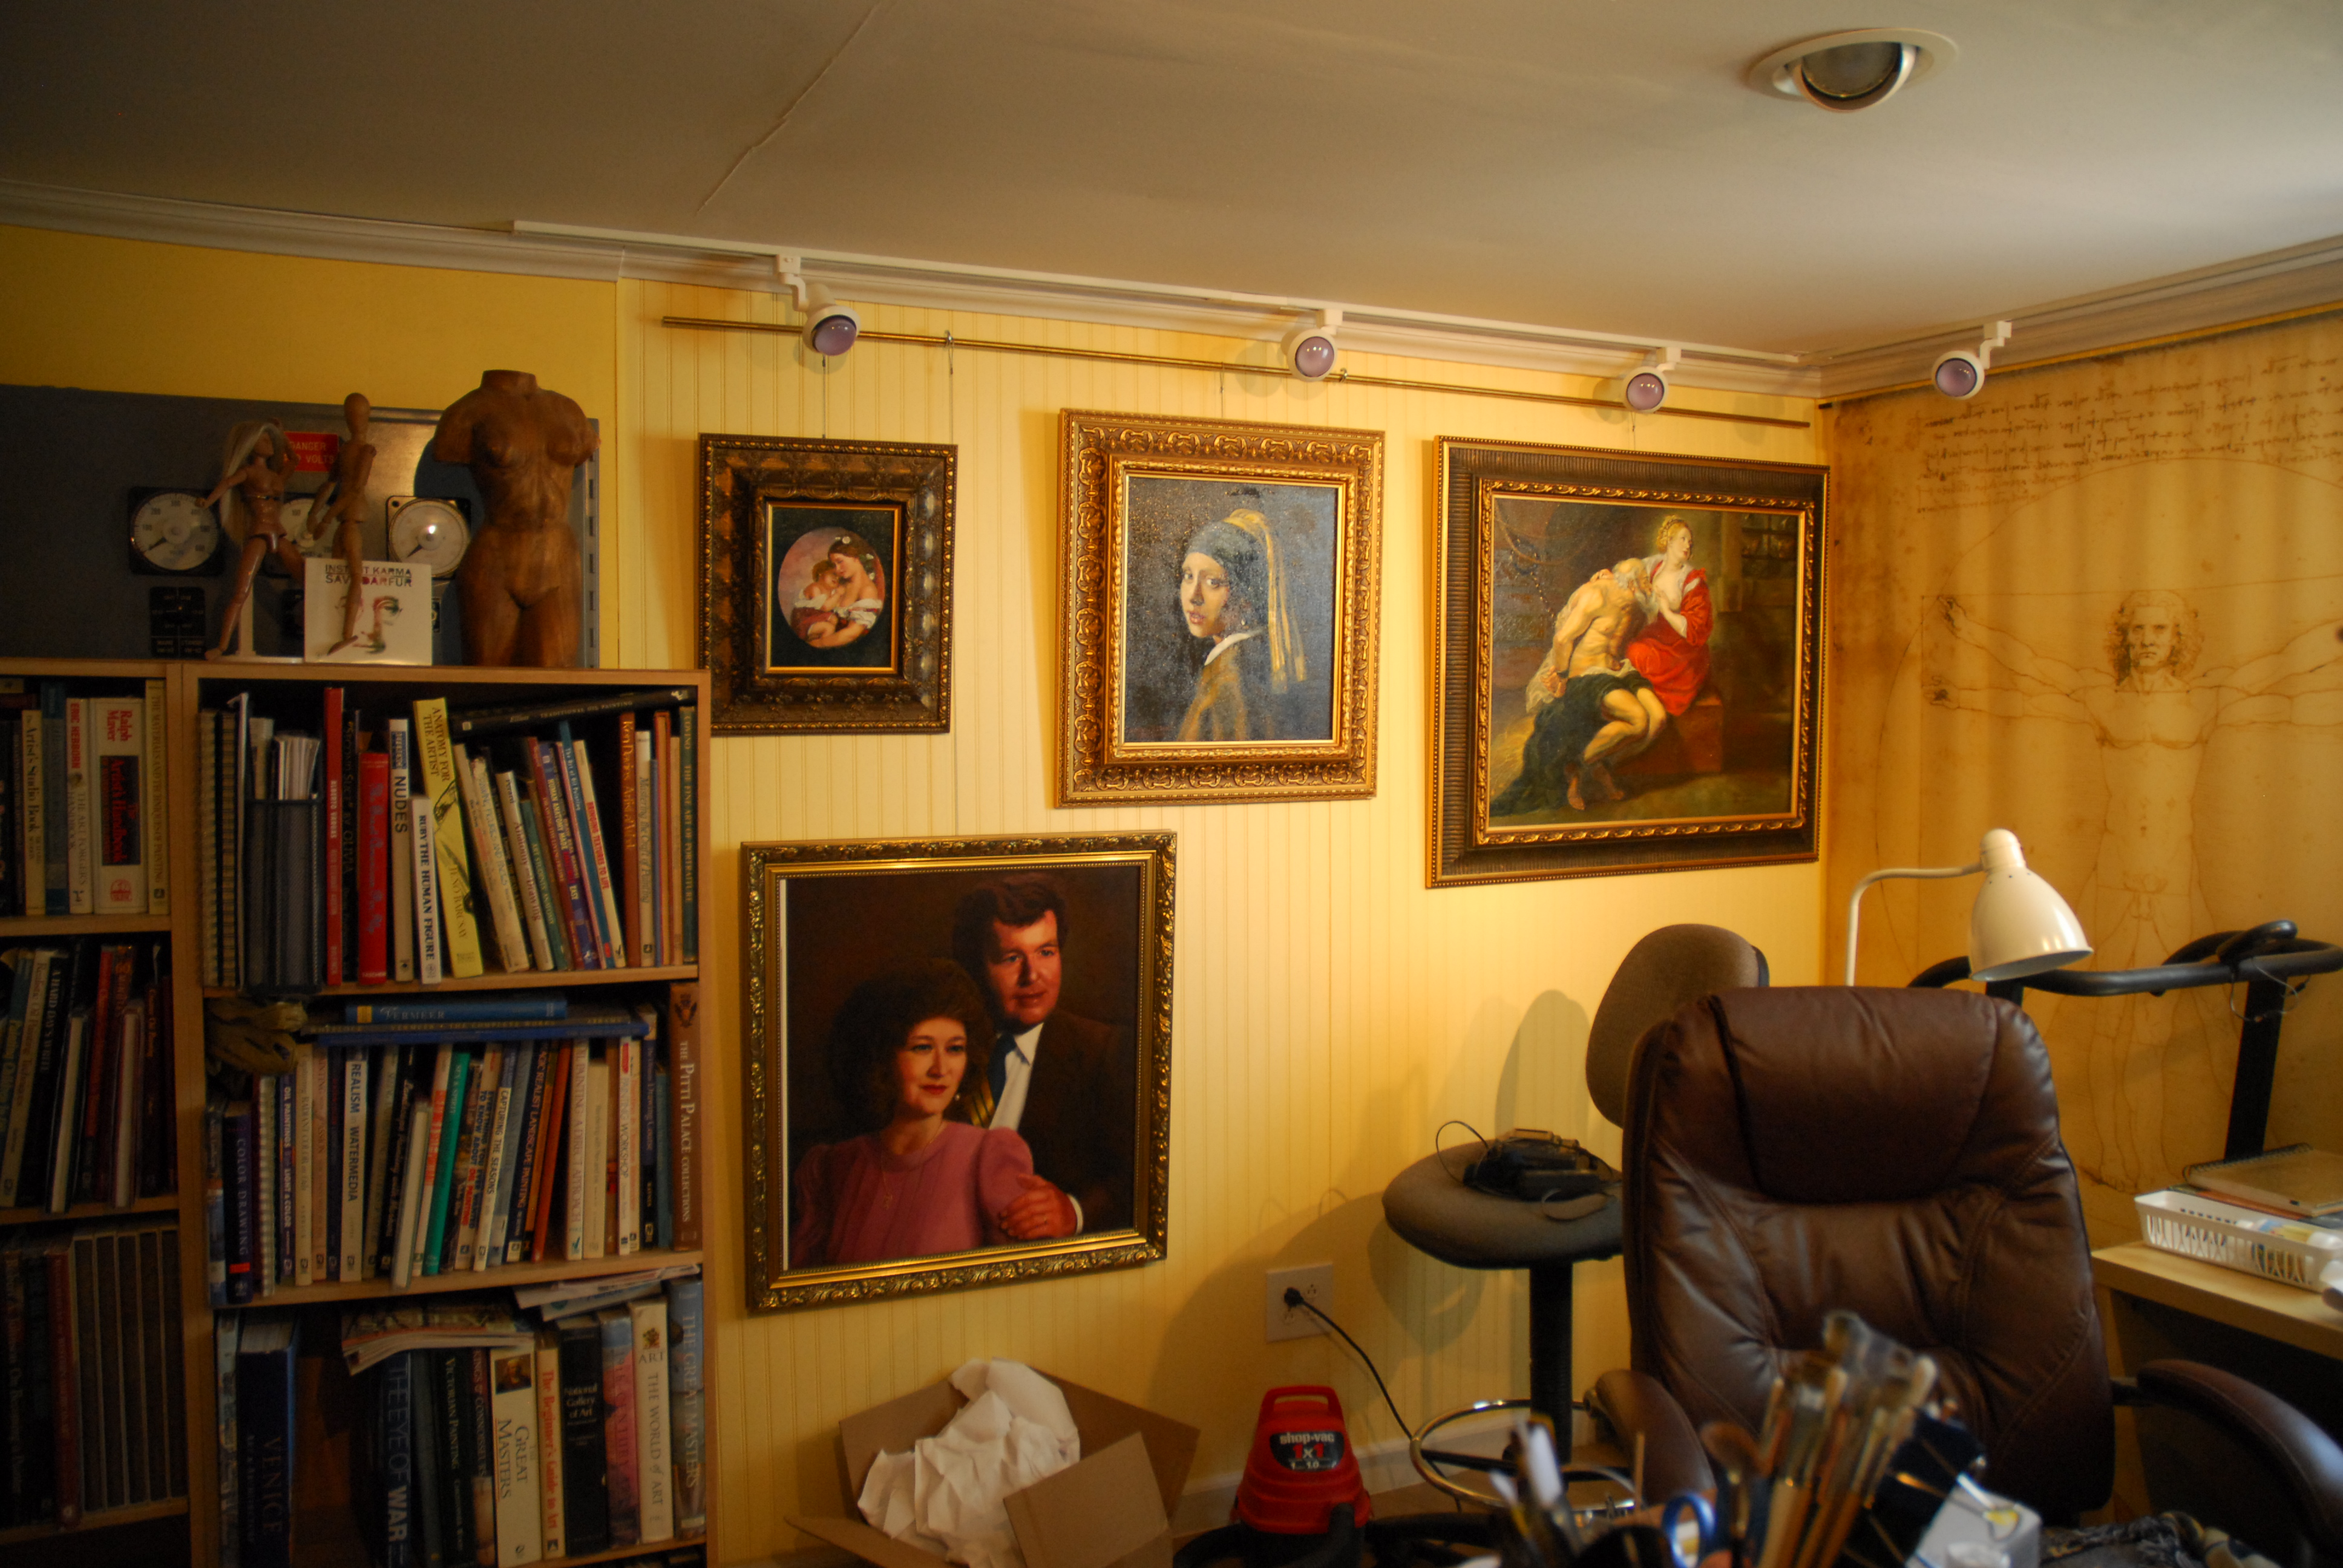
Finally, we decided we really needed that kitchen space so we restored a derelict 10’x16′ adobe (Surprise!  The Golden Mean, 1:1.6) that came with the property, tearing out its wooden floor to find everything from rattlesnakes, to our missing jobsite Sharpies and paint stirrers stolen by the pack rats (I can understand the Sharpies, but how DID they get that long stick under that floor??).  We replaced the floor with concrete, added interior beadboard walls, replaced the roof, added a door, two windows, a window AC unit, and special artist lighting.  My husband now uses half for his temporary hamshack, and I use the other half as my studio.  This penultimate 8’x10′ space is all mine–I’m moving up:

Studio3

Studio4

Studio5

Studio6

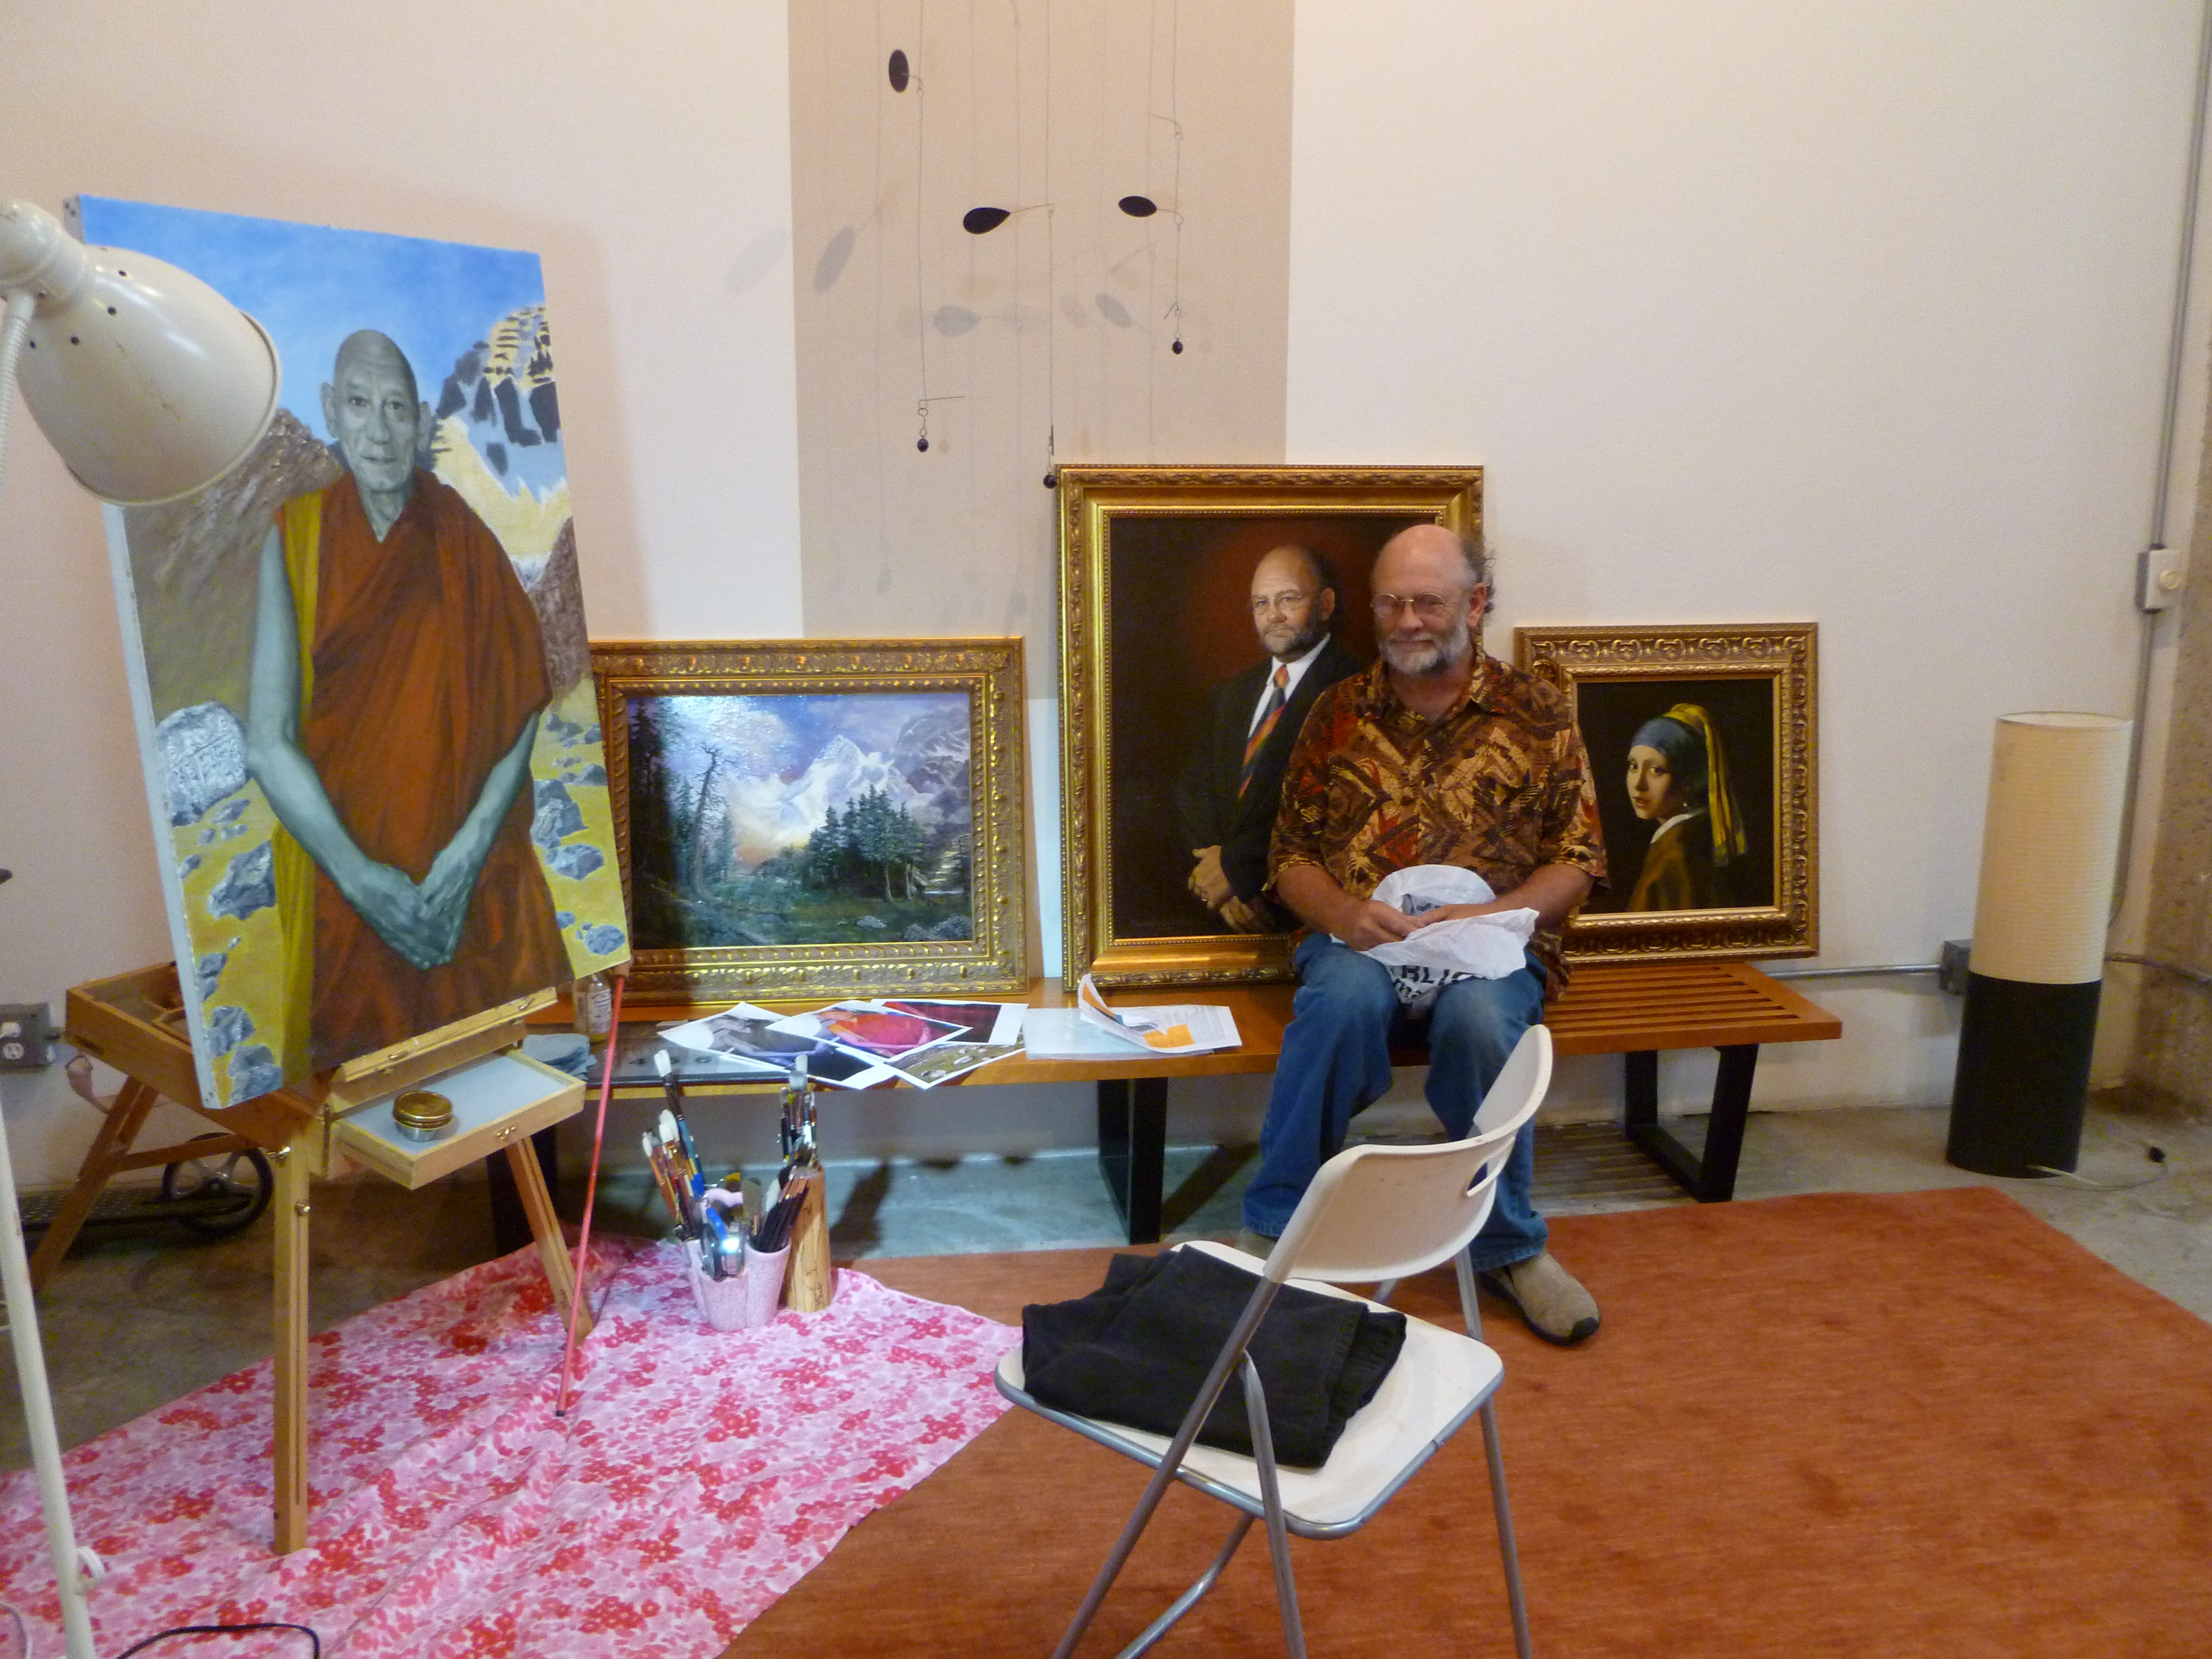
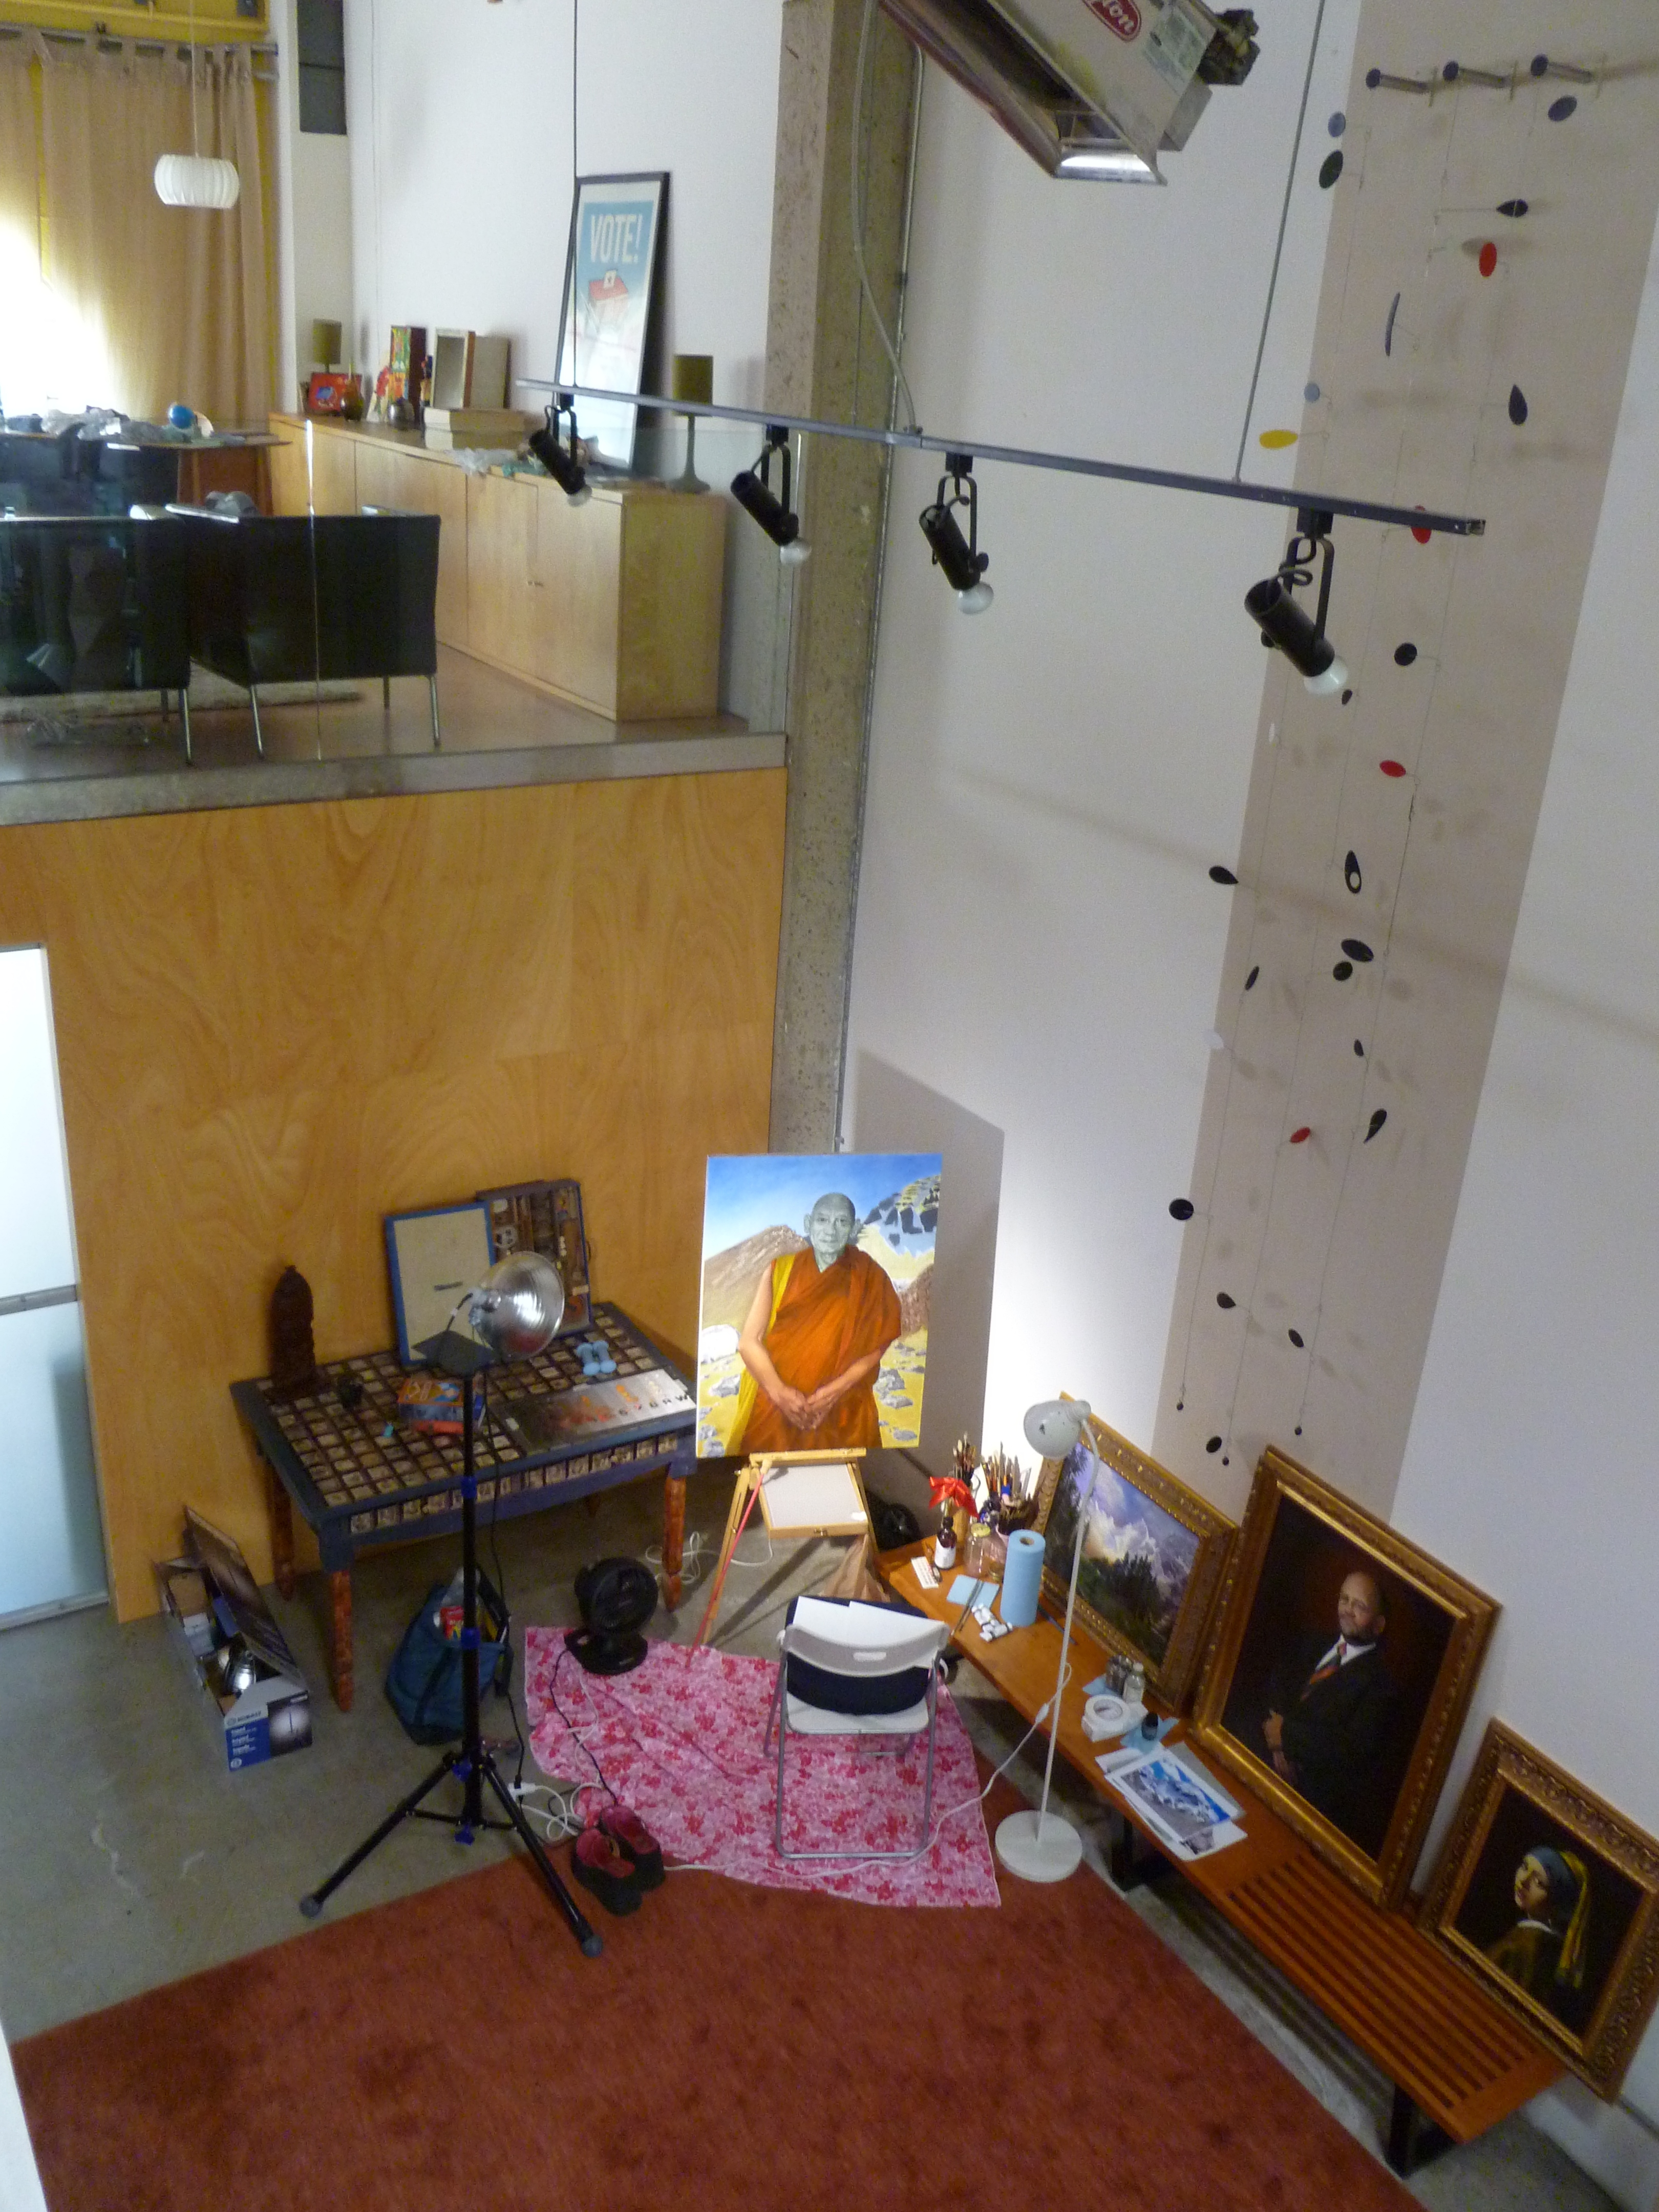
Then, my husband had a job in San Diego for a month, so I transported the supplies and my “feel good” paintings to our huge downtown loft accommodations.  I didn’t know how to handle that much room so what did I do?  Crowd in a corner, of course:

Studio6Temp

Studio7Temp

However, this is the quintessential upstairs studio I’m waiting for, although you have to use your imagination right now–but we painters have pretty good ones, no?

ArtStudioBathroomSnack

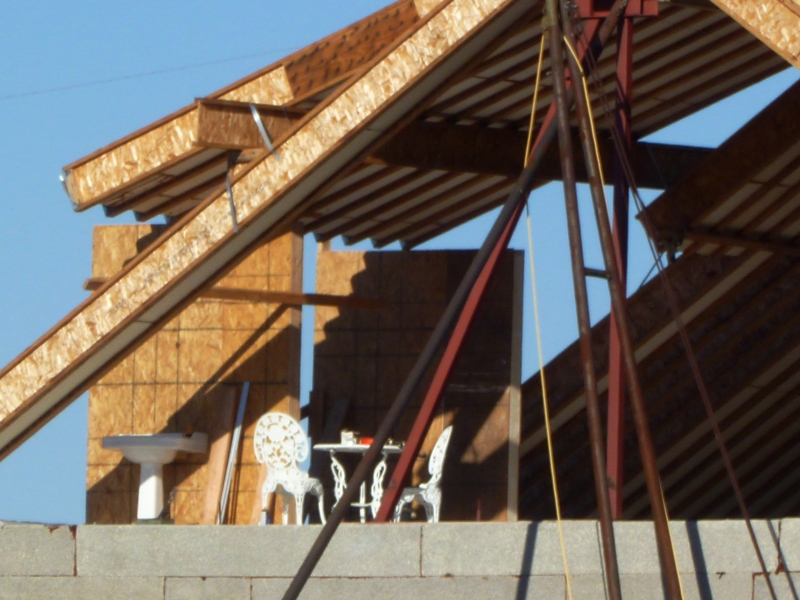
Bathroom, and balcony for sketching and painting in the Arizona winters.

MarshaPeekingNewStudio

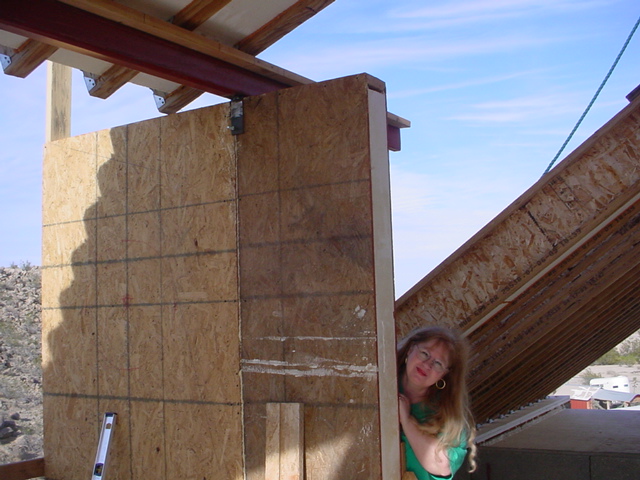
Me, peeking around the balcony wall.

ArtStudioFromHereToFarWindow

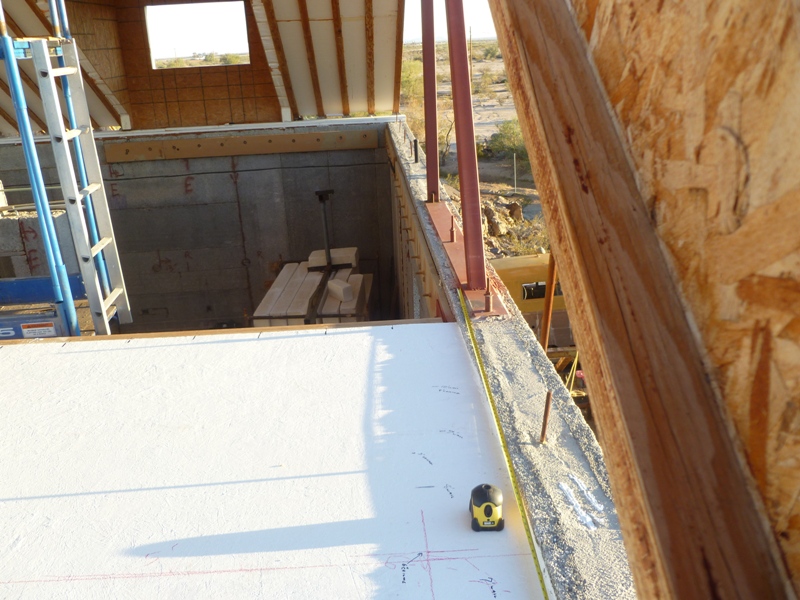
The studio spans the distance from balcony to dormer window, although the subfloor isn’t yet complete.

ArtStudioGuestBathroomSink

Here you can see the span. The dream studio will be about 25′ x 38′, plenty big enough for me!

StudioSunset

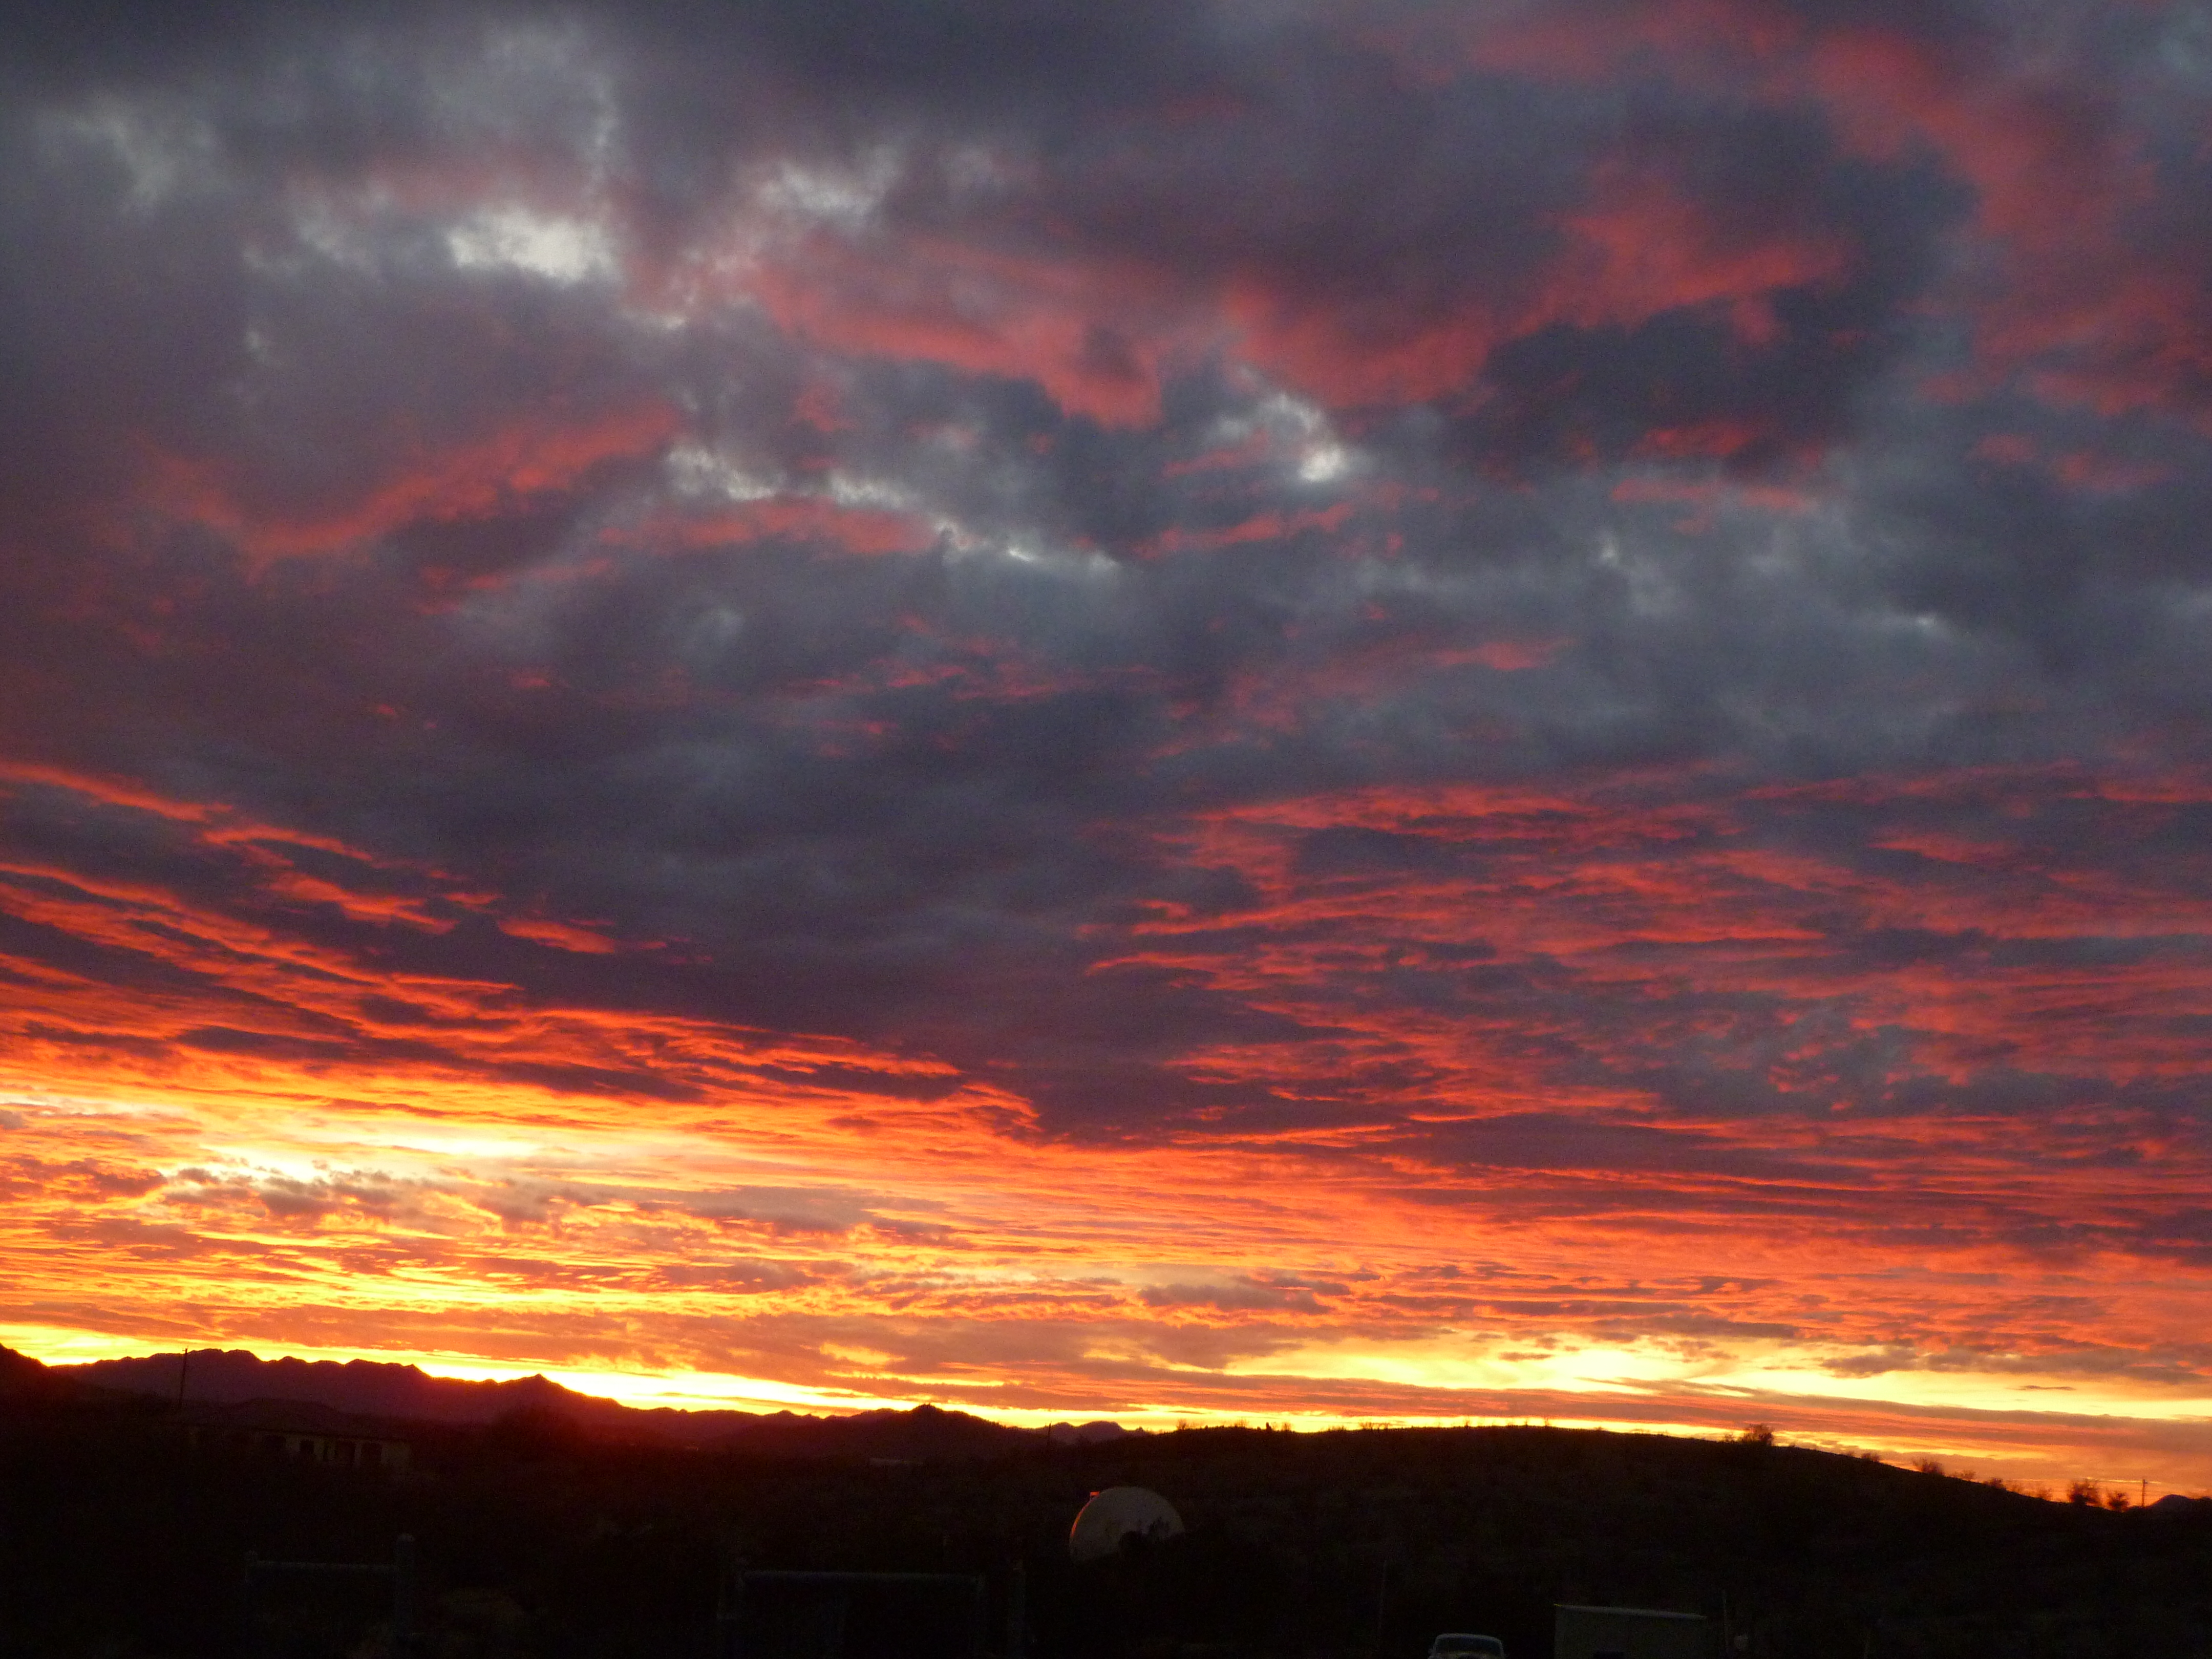
Unretouched Arizona sunsets from the studio.  Aren’t they amazingly beautiful?

StudioSunset1

And finally, during our Arizona Renaissance Art Guild workshops and our Frank Covino workshops held at the Gilbert Museum in Gilbert, Arizona, my space and that of all my artist friends, looks like this:

P1020401

PaintingCovinoWorkshop5-2013

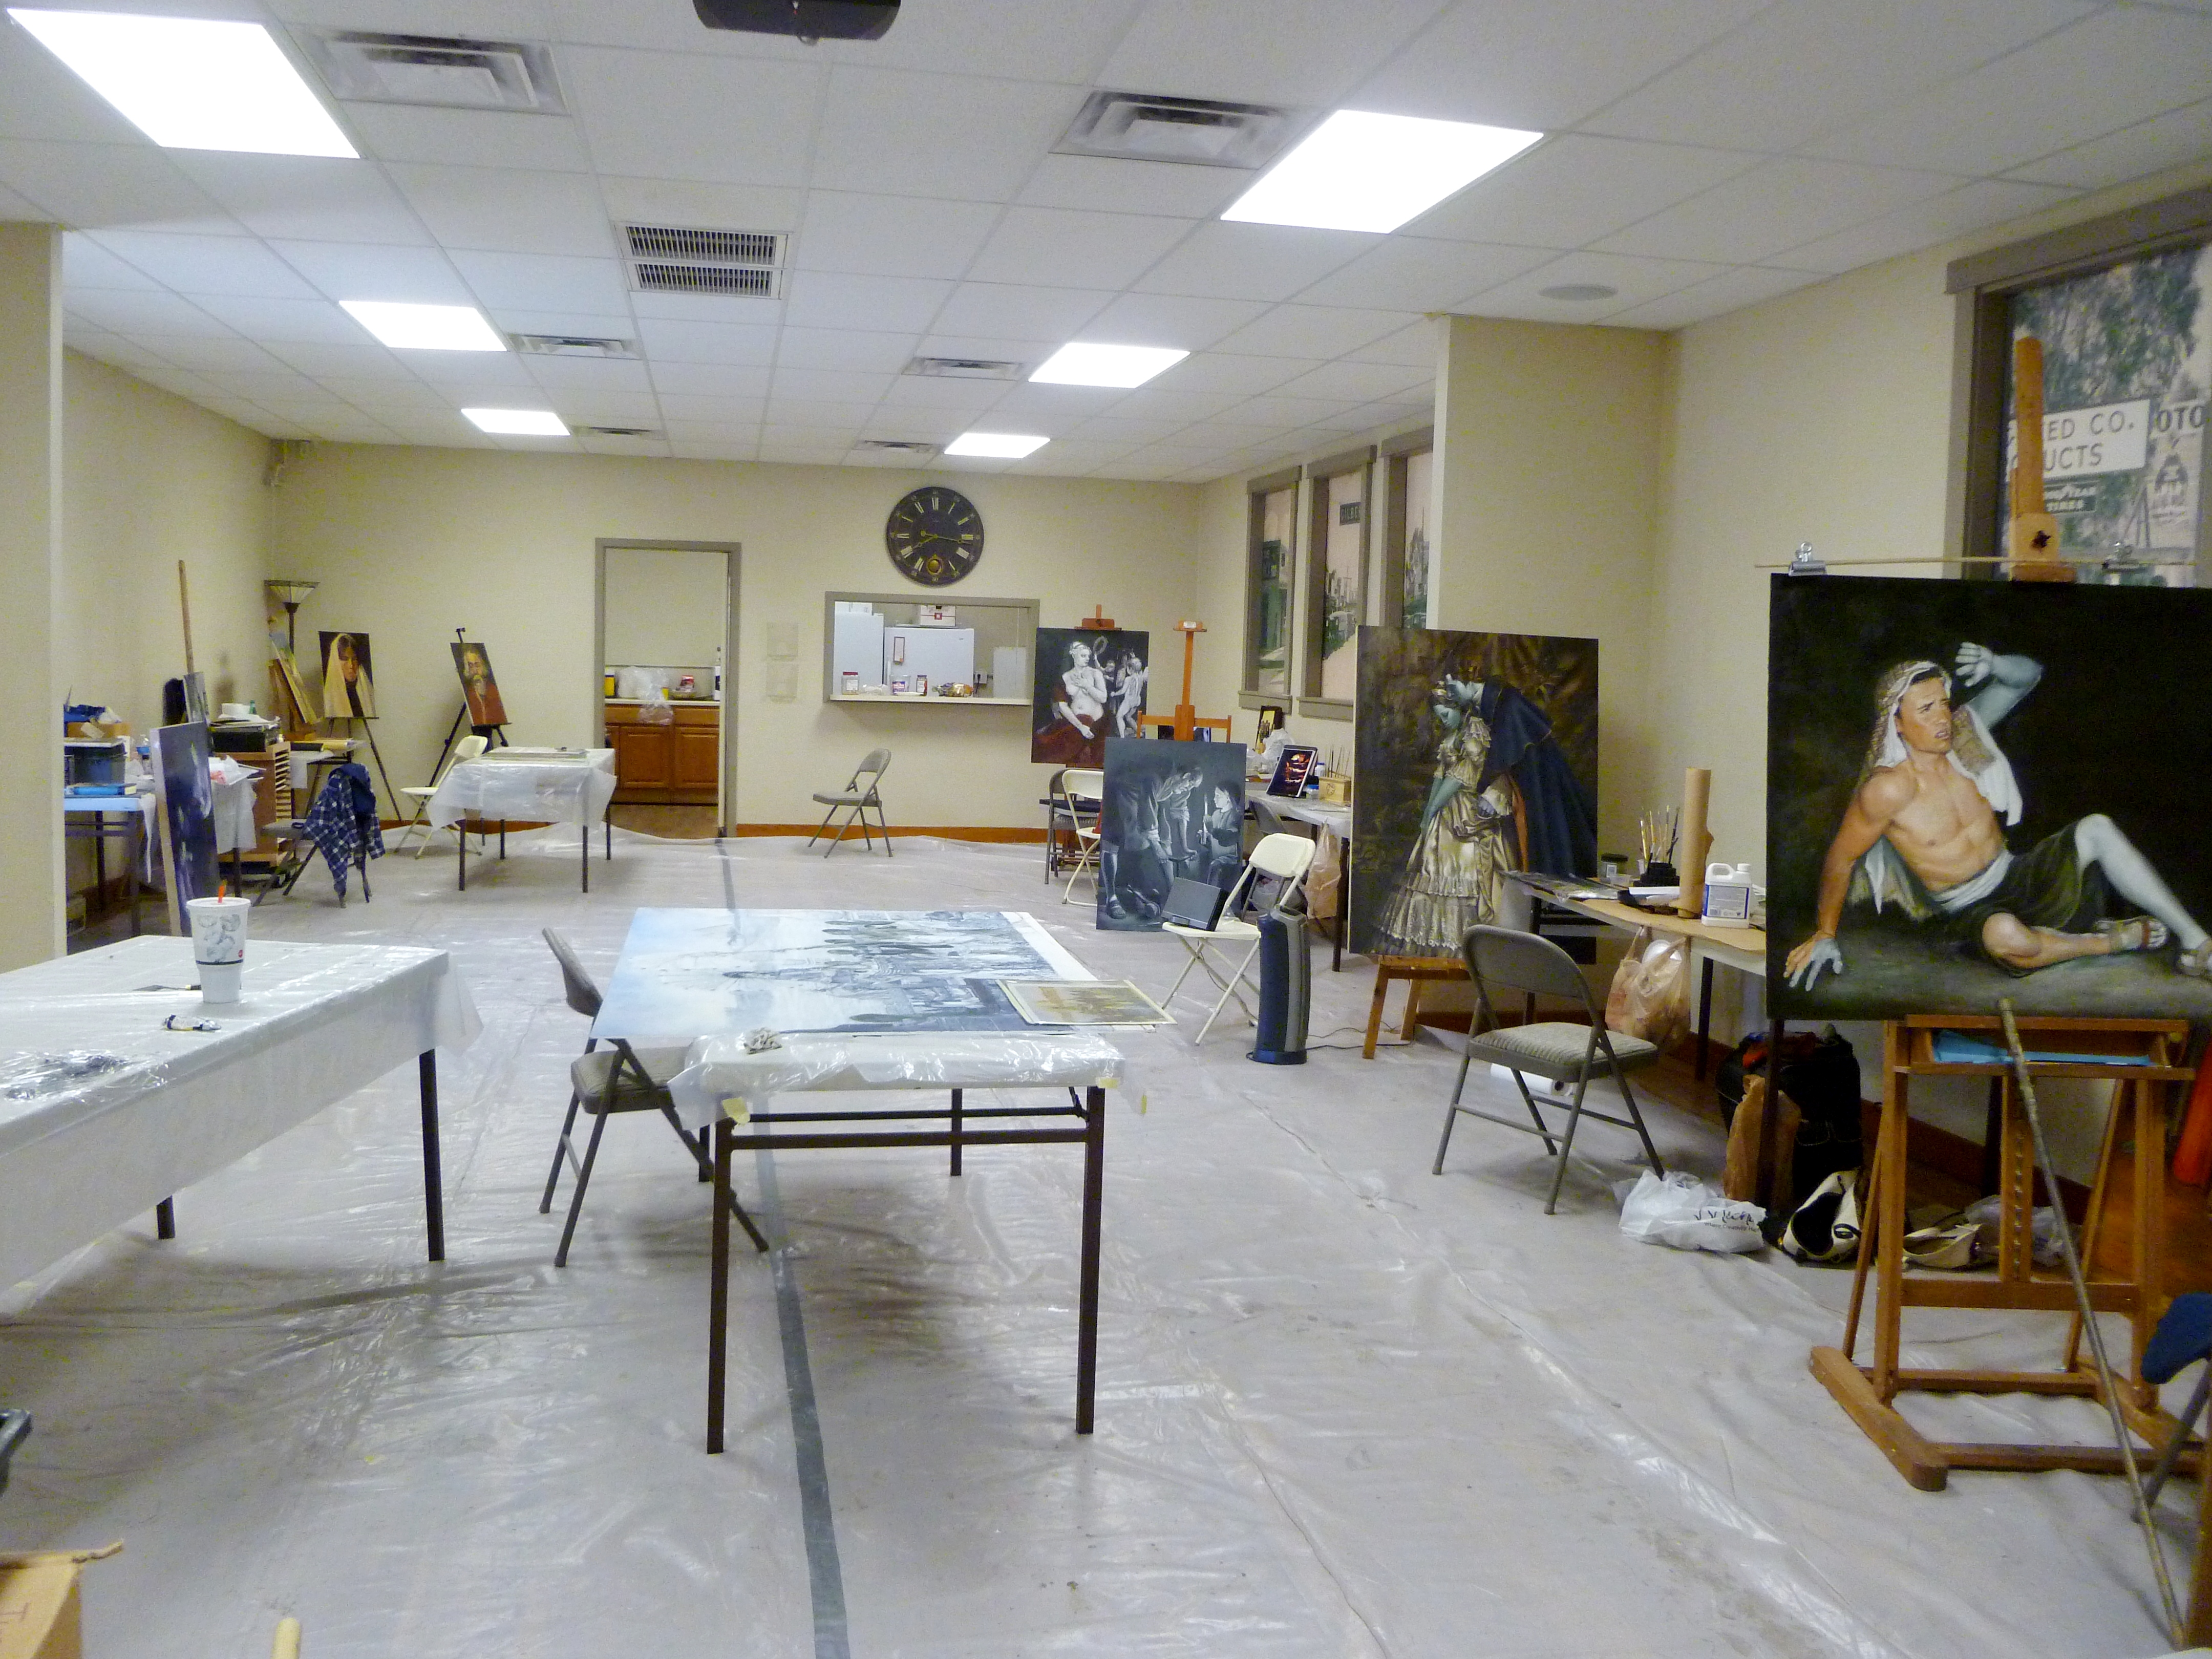
If you would like to join us sometime for one of our week-long workshops, or for our monthly Colony “paint togethers,” just let me know through this blog.  We have a workshop coming up and as soon as I have solid dates, I will let you know.

All the best,

Marsha

PART 3, CLASSICAL ACADEMIC APPROACH, THE PALETTE

The other item you will need right away is a 9-value (+black and white) palette.  12″x24″ is the most useable size.  Any smaller and you won’t have enough mixing room; any larger and it gets cumbersome and harder to reach over it.  Making this yourself is an excellent learning experience and begins to train your eye to see nine values in 10% increments, plus black being the absence of light on one end, and white being the absence of dark on the other end (based on the Munsell system).  You will have eleven value strips total.

Frank Covino created this and he calls it the “Controlled Palette.”  As of this writing, I don’t know if he still sells it.  A couple of years ago, he began making it smaller than the one I bought (and love) from him nearly ten years ago, and now I see on his site that it seems to be all a 5th-value gray, similar to Richeson’s Grey Matters palette paper (another excellent tool to provide that extra paint mixing space you sometimes need).  I suggest you contact Frank if you would prefer to buy a palette that is ready to use.  If you find that it is now indeed all gray, I strongly advise you to make it yourself instead.  Your acuity for values will be considerably heightened and, in the long run, you will become a much stronger artist for it.

Here is my palette in use. I still have Saran Wrap (the most non-permeable brand–I have tested this) over the colors. The flesh is still in verdaccio, since it’s always best to remember that “what surrounds the form affects your perception of the form’s values”:

JimAndAlma

Here is what it looks like:

PaletteFront

Front

PaletteBack

Back

You can print this value scale for reference.  Remember, there is a white strip to include at the right end:

PaletteColorChartValues

Supplies needed (all available at Home Depot, Lowes, Ace, etc.):

2 pieces 12″x24″ thin Plexiglas–glass is better for scraping or cleaning if you’re not going to be traveling with it.

1 piece 12″x24″ 1/8″ Masonite

6′ length of 2″ wide gray Duct tape

1 piece of 12″x24″ Contact paper of your choice (wood grain shown)

1 12″x24″printed or painted value scale on lightweight card stock, not paper

Coat one side of Masonite with contact paper, then assemble “sandwich” from the bottom, up, as follows: 3. Masonite (Contact paper on underside), 2. value scale, face up, 1. 1 piece of Plexiglas (or glass) to cover.  Duct tape edges with half the tape width showing on top and half on bottom, long edges first, short edges last.  Palette is complete.  The extra piece of Plexiglas is used on top of the palette to mix paint on and keep the actual palette clean.  When you use it, make sure to very lightly rub it with olive oil before you put the paint on, thereby making it easier to clean.  When the top gets scratched and mangled after many uses, just toss it and get a new top to go over your palette.

Test the measurements of this palette before you make it to ensure it fits in your freezer (adjust, if needed), as that is the way to store your paint for as much as six months.  This saves money because when you mix a flesh palette, for example, you can just use the remaining paint for another portrait.

All the best,

Marsha

PART 2, CLASSICAL ACADEMIC APPROACH, THE SUPPORT

You will need a support for your painting, and rather than make it yourself (what I normally do), you may want to go and buy a pre-primed gessoed Masonite  board for expediency. The reasons for a hard support as opposed to canvas are many, not the least of which are longevity, durability, and more control.  If you absolutely need canvas, make sure to choose a fine linen weave on board, rather than on stretcher bars.

You can buy an 18″x24″ Ampersand Gessobord, uncradled 1/8″ flat panel, at Utrecht for about $17.  It is a sealed hardboard panel with an acid free, acrylic gesso ground that you can start using right away.  Or, you can buy Utrecht’s excellent cradled, 18″x24″ unfinished wood panel and gesso it yourself for about the same price.

Buy the best marble-inclusive gesso from Frank Covino.  If you gesso your own, make sure you protect it on the back as well so that it cannot absorb moisture and warp.  To save on the cost of expensive gesso and to give them a clean, fresh finish, I coat the backs of my boards with oil-based Kilz, a fabulous and reasonably priced protectorant/primer/sealer, then apply gesso on the front only.

Decide on the size of board, based on the Old Master work you have chosen.  For example, for most lifesize portraits on a 16″x20″ panel, the figure will end at the armpits.  A size approximating life is best, as a giant head can look grotesque–unless that’s the effect you want to achieve.  Keep in mind the following parameters for face sizes on the panel–smaller than life is fine but these are LIMITS you should not exceed:

babies:  5″ from chin to hairline
children 3-12:  5 1/2″
teens to age 27:  6″ maximum, male or female
adults:  7 1/2 for men with large heads, 6 1/2 for women with large heads

The other item you will need right away is a 9-value (plus black and white) palette–more about that tomorrow.

PART 1, CLASSICAL ACADEMIC APPROACH–GET ARTSERIOUS

Artserious–a linguistic invention–so, it’s time to get artserious, begin at the beginning, and learn the classical academic painting process alluded to in this prior post.

As the Dalai Lama says, “Know the rules well so you can learn to break them effectively.” This is probably one of the most important reasons to have classical training and, although it is best received in person, teacher-student, I hope to help you through some of the same processes online that I teach my private students.  (If you are in the Phoenix Metro and want one-on-one lessons, contact me through this blog.)

In coming weeks, I will discuss the following: materials, design, compositional unity, applying the Golden Mean, Munsell’s color system and hue, value, and intensity, seven basic color schemes, aerial perspective, the cartoon, accurate enlargement/graphing and transferring to panel, gessoing masonite board, inking the drawing, sculpting with gesso for bas relief, the charcoal study, underpainting, mixing a flesh palette, and colored oil glazes.

It is a lengthy syllabus, but I hope you will profit from the instruction in some way.

Creating fine art is very much a science; therefore, you should come to this training with an open mind and put your previous painting experience on hold for awhile so that you can see with fresh eyes.  This is not quick art, but I promise you that with proper instruction and following the process outlined, along with self-discipline, persistence, and  patience, you can achieve the high degree of quality in your painting you have hoped for.  It is better to spend weeks on one excellent painting that can be considered significant art, than to spend a couple of hurried days on a piece that will end up in the trash.

Keep in mind there are preliminaries we will skip for now and come back to later, as I am sure you want to get to the actual creation of a portrait.  Beginning with how to get an accurate drawing, our ultimate purpose here is to get an excellent likeness and end up with a high quality, Renaissance-style classical academic painting that will never find itself in a garage sale.  You will be copying an Old Master oil portrait of your choice–you can paint family AFTER you have learned the basics and “mastered the Masters.”

Your first assignment:  Choose an Old Master portrait that you love.  Keep the goal in mind; you are learning the process here, so you will want to choose a picture that is not too complex, has clearly delineated eyes, nose, mouth, hair, clothing, and a simpler background.

I will be using Vermeer’s Girl with a Pearl Earring.

Make sure your reference is very high resolution, and high quality.  Two superb online sources are the Getty Museum or Art Renewal Center.  You should never undermine your efforts by beginning with inferior reference, as I have seen students who, despite admonition, try this and give up in frustration.

Print the reference on glossy photo paper, as it shows detail much better than other surfaces.  Print one in grayscale and one in color, ledger size if possible, otherwise 8 1/2″ x 11″.  You can put them on a flash drive or CD and have it printed at FedX or any print shop.  It is helpful to save the references on your computer desktop as well, for quick access.  I use my computer to enlarge certain small areas as I go along and need to get a closer look.  The computer, however, will not replace your printouts in this process.

Some Masters to consider for our purposes are (in no particular order):  Titian, Caravaggio, Rubens, Rembrandt, Velasquez, David, Vermeer, Gerome, Godward, Leighton, Alma-Tadema, and Bouguereau are all excellent artists from which to learn, although there are so many more.

GeromeBlackBashi-Bazouk1869-26x32
Jean Leon Gerome, Black Bashi-bazouk, 1869, 26×32″

TitianFlora1515-22x31
Titian, Flora, 1515

Here are the materials you will need for the process:

Oil Painting Materials:
references
pens/pencils
extra-fine permanent markers(Sharpies), black, blue, green, red
acetate
General’s charcoal pencils
vine charcoal
blending stumps (tortillions)
metal yardstick
metal 18” ruler
transparent triangle, 18”
kneaded eraser
India ink and liner sable brush
spray workable fixative
Exacto knife
clear tape
artist’s white tape
Golden acrylic matte medium
Masonite or hardwood board
sandpaper very rough #40-60, very smooth #100-200
natural sponge
Knox Gelatin
paint roller for application of gesso
retouch varnish
Liquin
turpentine for brush cleaning
olive oil for brushes, cleaning hands, oiling palette
leak proof turpentine container
easel
plastic wrap
blue paper towels
mahl stick
notebook
palette knives

Brushes:
bright sable #2, 4, 10
flat bristle #2, 4, 10
round sable #1, 8
round bristle #0, 8
mongoose flat #6
mongoose round #0
mongoose filbert #4, 8

Paint:
*titanium white
*flake white
ivory black
mars black
chromium oxide green
pthalo blue
cadmium yellow light
yellow ochre
raw sienna
raw umber
cadmium orange
burnt sienna
burnt umber
cadmium red light
alizarin crimson permanent
cobalt violet
ultramarine violet
French ultramarine blue
cobalt blue
cerulean blue
viridian green
Shiva cadmium green
Grumbacher pthalo yellow green
Winsor and Newton Winsor orange
Indian yellow
napthol red light

*Avoid zinc white (PW4) whenever possible. It is often added to paint colors one would not suspect, such as in titanium white, lead white, and to various other colors to render them more transparent. It is also used as a filler to make them less expensive to manufacture.  Zinc white can make your paintings crack, according to extensive, lengthy studies done with conservators at the National Gallery of Art, Washington.

Also, buy the best quality paint you can afford, as student grade and many professional grades contain excessive aluminum stearate that causes darkening of the paint film over time.  Good commercial brands include professional grades of Utrecht, Williamsburg (both made in the U.S.), Old Holland (Netherlands), and Sennelier (France).  I like the unique textures of handmade paints as well, and buy from colormen like Robert Doak, Michael Harding, and Natural Pigments.

*marble-inclusive gesso
*values palette
*homemade medium

In the next post, we’ll discuss supports, marble-inclusive gesso, and the 9-value (+black and white) palette you will need.

OPEN CONTENT WITH HI-RES AT THE GETTY

The Getty Museum, Los Angeles, has just announced their free open content program on the Internet, sharing 4,600 public domain paintings in high resolution, without restriction–meaning “free to modify or publish for any purpose.”  These are large, 100+ mb images that can actually be printed.

GodwardMischiefAndRepose189524x52

John William Godward [English, 1861 – 1922], Mischief and Repose, English, 1895, Oil on canvas, 60.6 x 133 cm (23 7/8 x 52 3/8 in.)

In addition, their next online release will be to make available a plethora of documentation, knowledge resources, research, digital publications, and images from special collections.  This will allow greater freedom of study, creativity, and exchange of ideas between students, artists, teachers, and art connoisseurs.

Getty now joins the ranks of other open content providers such as the National Gallery of Art https://images.nga.gov/en/page/openaccess.html and Harvard University.

Read their announcement here at the Getty Iris Blog:

http://blogs.getty.edu/iris/open-content-an-idea-whose-time-has-come/

Browse Getty images here:

http://search.getty.edu/gateway/search?q=&cat=highlight&f=%22Open+Content+Images%22&rows=10&srt=a&dir=s&pg=1

Download images from here:

http://www.getty.edu/art/

CARAVAGGIO: CONTROVERSIAL NEW WORKS STILL QUESTIONED

CaravaggioJudith

photo by http://www.thepassionforart.com/2013/03/02/art-world-divided-over-caravaggio-100-works-discovery/

Researchers say they are keeping an open mind to the possibility that some of the 100 new works found in a Milanese castle are those of Caravaggio:

http://www.thepassionforart.com/2013/03/02/art-world-divided-over-caravaggio-100-works-discovery/

For back story on the original discovery and the ensuing controversy:

http://www.independent.co.uk/arts-entertainment/art/news/too-good-to-be-true-the-caravaggio-conundrum-7936445.html

Did Caravaggio die of murder, fever, or lead poisoning from ingesting his paint?  DNA researchers have concluded he died in Tuscany of an undetermined illness but we’ll probably never know the answer for sure after 404 years. However, paleomicrobiologists have picked up the search, and as of late June, 2013, have so far discovered this:

http://cenblog.org/artful-science/2013/06/24/figuring-out-what-killed-crazy-caravaggio/

Here is a “what if” story about his probable fate, had he not placed himself in exile from Rome after his murder conviction (later pardoned by the pope):

http://caravaggista.com/2013/07/on-the-403rd-anniversary-of-caravaggios-death-what-if/

Whether researchers determine the newly discovered works are by Caravaggio, his teacher Peterzano, or a mixture of both plus Peterzano’s other students, an inexpensive reference has been published at only $6.50 per volume (not available in Italy) and you can preview it first. To find out more about  either of the two volumes, Young Caravaggio: One-hundred rediscovered works, V I and II (Kindle book only), go to:

http://www.amazon.com/s/ref=nb_sb_noss?url=search-alias%3Ddigital-text&field-keywords=young%20caravaggio

The Arizona Renaissance Art Guild does one-week workshop intensives three times per year, and in addition, we get together to paint all day on the third Saturday of every month.  If you are in the Phoenix Metro area and are interested in finding out more or possibly joining our colony, please let me know through this blog.  ~Marsha

MONA LISA’S SKELETON FOUND?

Leonardo Da Vinci’s model for the Mona Lisa may have been found by a research team in Italy who discovered three skeletons in the basement of a old, now unused convent in Florence last year, where Lisa Gherardini likely spent her final months.

 MonaLisaTomb

Photo by http://www.irishtimes.com/news/world/florence-tomb-opened-in-search-for-mona-lisa-1.1490726

Silvano Vinceti, of Italy’s National Committee for Cultural Heritage, said that another tomb in Florence contains relatives of Lisa Gherardini del Giacondo, probably her son Piero, and that, “Right now we are carrying out carbon-14 tests on three of the eight skeletons found in St. Ursula. The carbon-14 test will tell us which of the three dates back to the 1500s. Only then will we know which skeleton to do the final DNA test on.” After that, they plan to do a digital reconstruction of her face.

For more on this story, go to:

http://www.independent.co.uk/news/world/europe/researchers-open-florence-tomb-in-search-for-identity-of-the-real-mona-lisa-8755463.html

For a picture of the skull:

http://www.independent.co.uk/news/science/archaeology/news/the-dig-that-may-have-unearthed-leonardos-muse-8196544.html

Another version of Mona Lisa discovered:

MonaLisaLouvrePrado

photo by http://www.theartnewspaper.com/articles/Earliest-copy-of-Mona-Lisa-found-in-Prado/25514

http://www.independent.co.uk/arts-entertainment/art/news/so-she-truly-was-leonardos-labour-of-love-7645955.html

The Arizona Renaissance Art Guild does one-week workshop intensives three times per year, and in addition, we get together to paint all day on the third Saturday of every month.  If you are in the Phoenix Metro area and are interested in finding out more or possibly joining our colony, please let me know through this blog.  ~Marsha