Greetings. I have returned to my blog after much jumping through hoops to upgrade our Internet service, a task that is not always so easy when you live outside a metro, have no access to wireless, and need to climb a mountain and run wire (in conduit so the animals don’t eat it) to receive a signal. But here I am at last, and my husband and I are very happy to have a new and faster service!
See my first post on this topic, “Archival, Solvent-free…,” dated 5/14/13, where I had experimented with making my own stand oil (Stage 1) by cleaning the mucilage out of it first, from the directions given in Louis Velasquez’s book. My only regret so far is that I did not start with TWO bottles of flaxseed oil instead of just one. It is now a beautiful linseed oil and I would like to save some of it in it’s present state but, if I do that, I won’t have enough to make very much stand oil (Rewind would be so wonderful).
In this post, I put it in the Arizona sun (Stage 2), using Velasquez’s method, to make stand oil that is a faster-drying oil than can be purchased at art supply stores. The commercial stand oil in art stores has been overheated and, as a result, becomes slow-drying.
I expect that, at 108 degrees with less than 10% relative humidity, my oil will not even take two weeks–but we’ll see. I must do it now to beat the monsoons that usually arrive in early July, because water would be an enemy of this oil. Here is the process:
Sun-Thicken the Oil to make Stand Oil (aka Sun Oil)
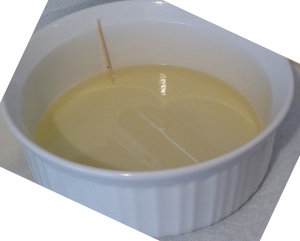
1. Pour cleansed linseed oil into a white, opaque container to ¾-1” depth (not shallower, or the resulting stand oil will wrinkle the paint badly), NO WATER contamination. Set the dish inside a perimeter of ant powder, if necessary. I found out the hard way during Stage 1, that some kinds of ants LOVE this oil with a fervor you wouldn’t believe until you’ve see it!
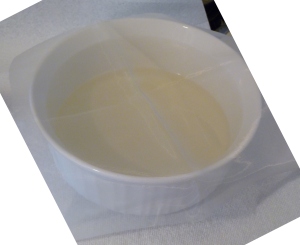
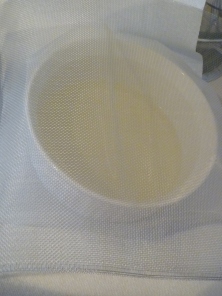
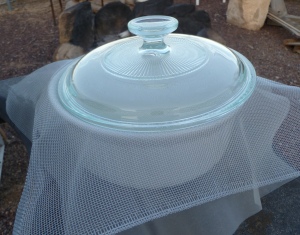
2. Cover to keep out most detritus but leave gap/clearance allowing air circulation—I layered a piece of breathable organza to keep out even the teeny bugs, some screen and then put the lid on partially. The screen seems to hold the lid up enough, especially with the lid canted.
3. Expose oil to direct summer sun as much as possible, stirring briskly for about 30 seconds, twice daily, more frequently in very hot, dry areas. Stirring aids in the even and complete oxidation of the oil. I am guessing I’ll have to stir mine twice as often with something small that doesn’t waste too much oil left on the stirrer.
4. After 15-30 days, depending on location and season, it will thicken, the hotter and dryer the weather, the faster. Let it thicken to the viscosity you prefer. The only rule is don’t let it get so thick that it forms a skin or globs that resist stirring.
5. With a funnel and a cotton ball, filter the oil of dust/insects. It should be clear, palest yellow. Place a loose cap on the jar as it expands and contracts when in storage as it continues to dry.
6. IMMEDIATELY CLEAN THE WHITE DISH, using non-solvent thin linseed oil or olive oil to remove the sticky sun oil, wipe, then wash with soapy water. If you fail to do this, it will not come off and you’ll be discarding your otherwise perfectly good and useable dish.
After my Stand Oil is done (hopefully in two weeks), we will continue on to Stage 3 of the process of making what promises to be a most wonderful medium.
The Arizona Renaissance Art Guild does one-week workshop intensives three times per year, and in addition, we get together to paint all day on the third Saturday of every month. If you are in the Phoenix Metro area and are interested in finding out more or possibly joining our colony, please let me know through this blog. ~Marsha


